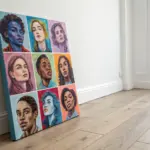
If you’re craving realism art ideas, the fastest way forward is picking subjects that let you practice light, texture, and accurate shapes without feeling overwhelmed. I pulled together my go-to realism prompts—starting with the classics and sliding into the fun, surprising stuff once you’ve warmed up.
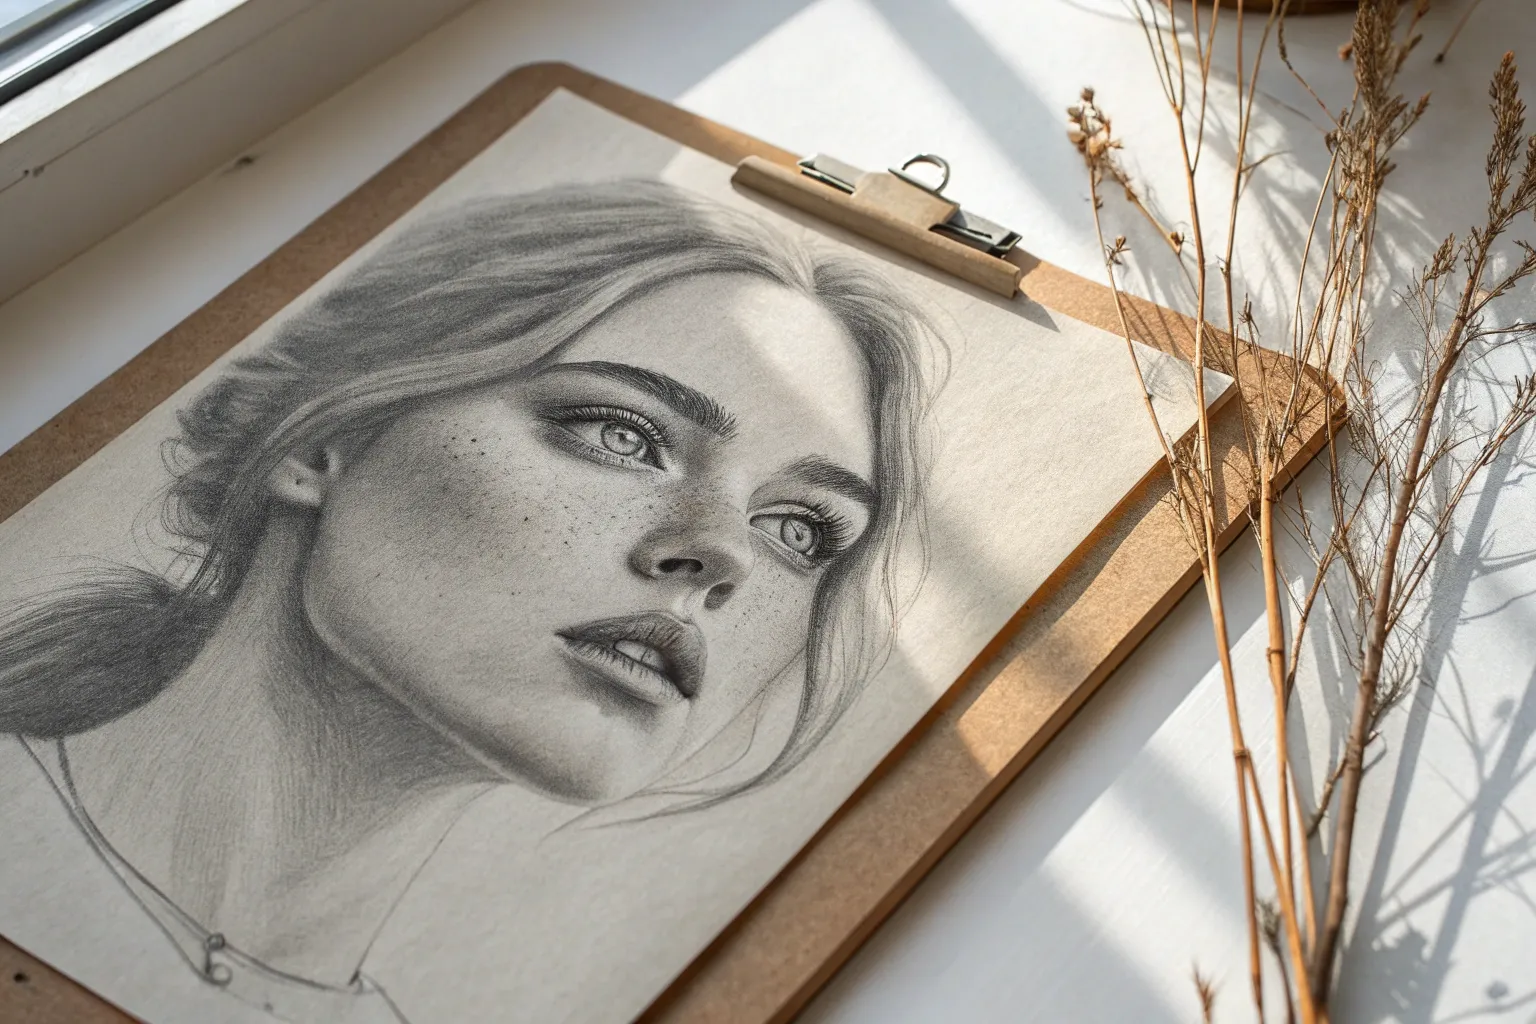
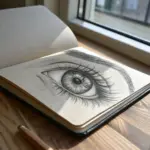
Realistic Eye Study

Master the art of realism with this detailed eye study, focusing on rich tonal values and lifelike textures. This project will guide you through building depth with layered shading and capturing the delicate details of eyelashes and iris patterns.
Step-by-Step
Materials
- Heavyweight sketch paper or Bristol board (smooth finish)
- Graphite pencils (HB, 2B, 4B)
- Charcoal pencils (Soft and Medium)
- Blending stump (tortillon)
- Kneaded eraser
- Precision eraser (for highlights)
- Tissue or soft cloth for blending
Step 1: Structural Outline
-
Initial Eye Shape:
Begin with an HB pencil to lightly sketch the almond shape of the eye. Keep your lines faint so they can be easily adjusted or erased later. -
Iris and Pupil Placement:
Draw a large circle for the iris, partially covered by the upper eyelid. Roughly in the center, mark out the pupil, leaving a small, irregular shape blank for the primary highlight. -
Defining the Creases:
Sketch the prominent crease line above the upper eyelid and the subtler fold line beneath the lower lash line. These define the socket structure. -
Brow Outline:
Lightly map out the shape of the eyebrow, indicating the direction of hair growth with faint directional strokes rather than a solid outline.
Don’t Smudge!
Place a clean sheet of scrap paper under your drawing hand while you work. This prevents oils from your skin and friction from smearing your careful shading.
Step 2: Shading and Depth
-
Darkening the Pupil:
Switch to a charcoal pencil or a 4B graphite pencil to fill in the pupil. Press firmly to achieve a deep, rich black, but be careful to preserve the white highlight area completely untouched. -
Iris Spokes:
Using a 2B pencil, draw radiating lines from the pupil outward toward the edge of the iris, like spokes on a wheel. Vary the length and darkness of these lines to create a natural, organic texture. -
Iris Shading:
Darken the outer rim of the iris with a soft graphite pencil. Blend this inward slightly to create a soft transition, giving the eye a convex, rounded appearance. -
Saira-White Shading:
Lightly shade the corners of the sclera (the white of the eye) using an HB pencil. The eyeball is a sphere, so shading the corners makes it look round rather than flat. -
Blending the Skin:
Using a 2B pencil, shade the upper eyelid crease and the area under the eyebrow. Use a blending stump to smooth this graphite out, creating a soft, skin-like gradient.
Step 3: Detailing and Texture
-
Refining the Iris:
Go back into the iris with a sharpened charcoal pencil to add darker, intricate details near the pupil and outer rim. Use your kneaded eraser to lift tiny slivers of graphite to create light fibers within the iris. -
Eyebrow Hair Foundation:
Start drawing the eyebrow hairs using quick, short flicks with a 2B pencil. I find it helpful to follow the natural arch direction—upward at the start, flattening out across the arch, and downward at the tail. -
Deepening the Brow:
Layer darker charcoal pencil strokes over the initial eyebrow hairs to add density and dimension. Ensure you can still see individual hairs rather than a solid block. -
Upper Eyelashes:
Draw the upper eyelashes using long, sweeping curved strokes starting from the roots. Press down at the start and lift off quickly at the tip to create a tapered end. Make them clump slightly for realism. -
Lower Eyelashes:
Repeat the process for the lower lashes using a lighter hand. These should be shorter, sparser, and slightly more chaotic in direction than the upper lashes. -
Reflection Detail:
Examine the highlight in the pupil. If you accidentally smudged it, use a precision eraser or white gel pen to make it purely white. Add a tiny reflection of the eyelashes in the highlight for extra realism. -
Adding Texture to Skin:
Lightly stipple or cross-hatch very faintly around the tear duct and under the eye to suggest skin pores and fine lines. Blend gently so the texture is subtle, not rough. -
Final Contrast Check:
Step back and assess your values. Darken the pupil and the crease of the eyelid one last time with your darkest charcoal to ensure the image pops.
Wet Effect
Use a white gel pen or opaque white paint for the tiny highlights in the tear duct and the lower water line to make the eye look moist and alive.
Enjoy the satisfaction of seeing your realistic eye stare back at you from the page


Nose and Lips Value Studies
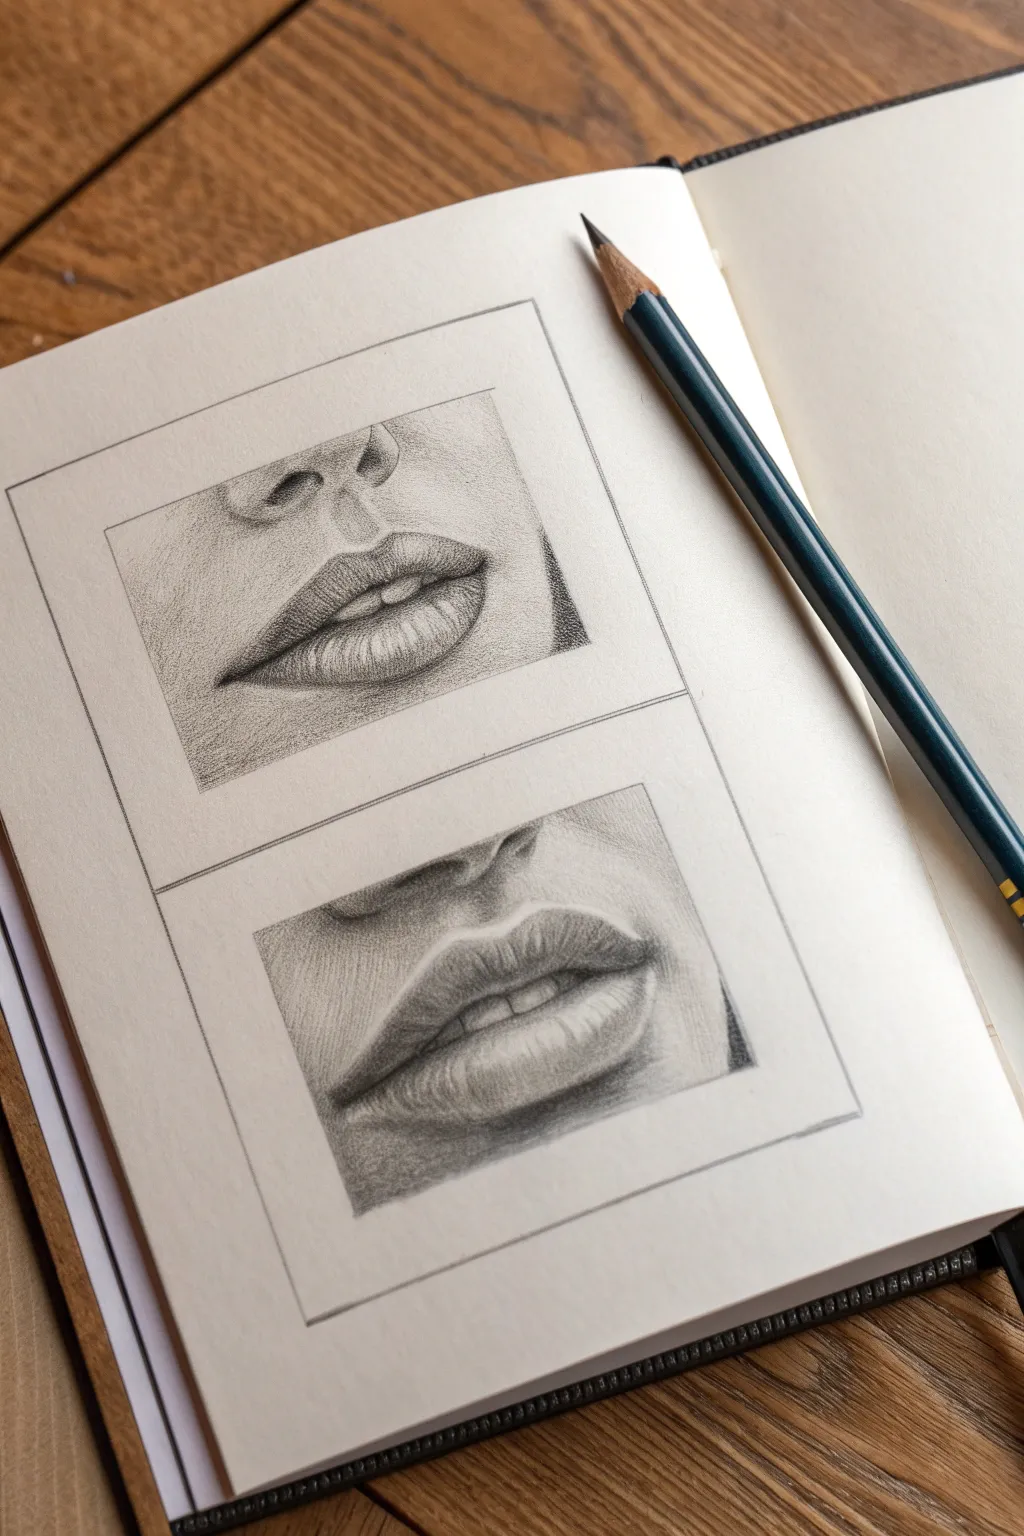
These two precise graphite studies focus on capturing the delicate textures and subtle gradients found in human lips and noses. By framing them in crisp rectangles, you create focused vignettes that emphasize form and lighting without the pressure of a full portrait.
How-To Guide
Materials
- Sketchbook with smooth or medium-tooth paper
- Set of graphite pencils (HB, 2B, 4B, 6B)
- Ruler
- Kneaded eraser
- Precision eraser (e.g., Mono Zero) or eraser shield
- Blending stump (tortillon) or soft tissue
- Pencil sharpener
Step 1: Setting the Scene
-
Prepare your page:
Begin by opening your sketchbook to a fresh page. Using a ruler and an HB pencil, draw two identical rectangles stacked vertically. Leave about an inch of space between them to let each drawing breathe. -
Establish the light outlines:
Inside the top box, lightly sketch the basic shapes for the first study using an HB pencil. Focus on the ‘V’ shape of the cupid’s bow and the centerline of the mouth, keeping your lines faint so they disappear later. -
Map the second study:
Repeat the process for the bottom box, but slightly change the angle or expression if you wish to match the reference image. Notice how the bottom study shows slightly more teeth; sketch the gum line very faintly.
Step 2: Structuring the Top Study
-
Define the darkest values:
Switch to a 4B pencil to lay down the core shadows. Focus on the corners of the mouth and the line where the lips meet. This shouldn’t be a solid black line but a series of overlapping dark strokes. -
Shading the upper lip:
The upper lip usually angles inward, catching less light. Use a 2B pencil to shade this area with diagonal hatching strokes, getting darker near the bottom edge. -
Modeling the nose:
Lightly shade the nostrils using soft, circular motions. The nostril holes need to be dark (use a 4B or 6B), but the skin around them needs a very gentle gradient to look round, not flat. -
Rendering the bottom lip:
The bottom lip acts like a cylinder. Shade the bottom curve to show volume, but leave the center highlight almost white. I prefer drawing curved contour lines here to mimic the lip’s natural texture.
Texturing Tip
Don’t draw straight lines for lip wrinkles. Curve them slightly around the form of the lip to reinforce the 3D volume.
Step 3: Structuring the Bottom Study
-
Establish depth:
For the second drawing, use your 4B pencil to darken the interior of the mouth behind the teeth. This negative space is crucial for making the teeth look bright without outlining them. -
Suggesting teeth:
Avoid drawing hard lines between each tooth. Instead, suggest their separation with tiny, subtle shadows near the gum line and biting edge using your HB pencil. -
Shading the philtrum:
Add the shadow for the philtrum (the groove above the lip) using an HB pencil. Keep the edges soft and diffused; hard lines here will make the face look rigid. -
Contouring the lower lip:
Build up the volume on the lower lip with a 2B pencil. Pay close attention to the cast shadow underneath the lip, which helps pop the mouth forward off the page.
Level Up: Skin Pores
Use a needle or sharp stylus to impress tiny dots into the paper before shading the nose. The graphite will skim over them, leaving realistic white pores.
Step 4: Refining and Texturing
-
Blend the skin tones:
Use a blending stump or a soft tissue to gently smooth out the skin shading around the mouth and nose. Be careful not to smudge your crisp dark lines or the highlights on the lips. -
Add lip wrinkles:
Sharpen your 2B or HB pencil to a fine point. carefully draw the vertical cracks and texture lines on the lips. Vary the pressure—start dark in the center and lift off as you move outward. -
Lift highlights:
Take your kneaded eraser or precision eraser and ‘tap’ or stroke out bright highlights. Focus on the center of the lower lip and the rim of the cupid’s bow to create a wet or glossy look. -
Finalize contrast:
Go back in with your 6B pencil one last time. Deepen the nostrils and the corners of the mouth to maximize contrast. This pushes the highlights forward by comparison. -
Clean the frames:
Use a ruler and eraser to clean up the edges of your rectangular frames. A sharp, clean border makes the soft shading inside look even more professional and intentional.
Now you have a pair of realistic studies that capture the subtle beauty of human features


Portrait in Soft Window Light
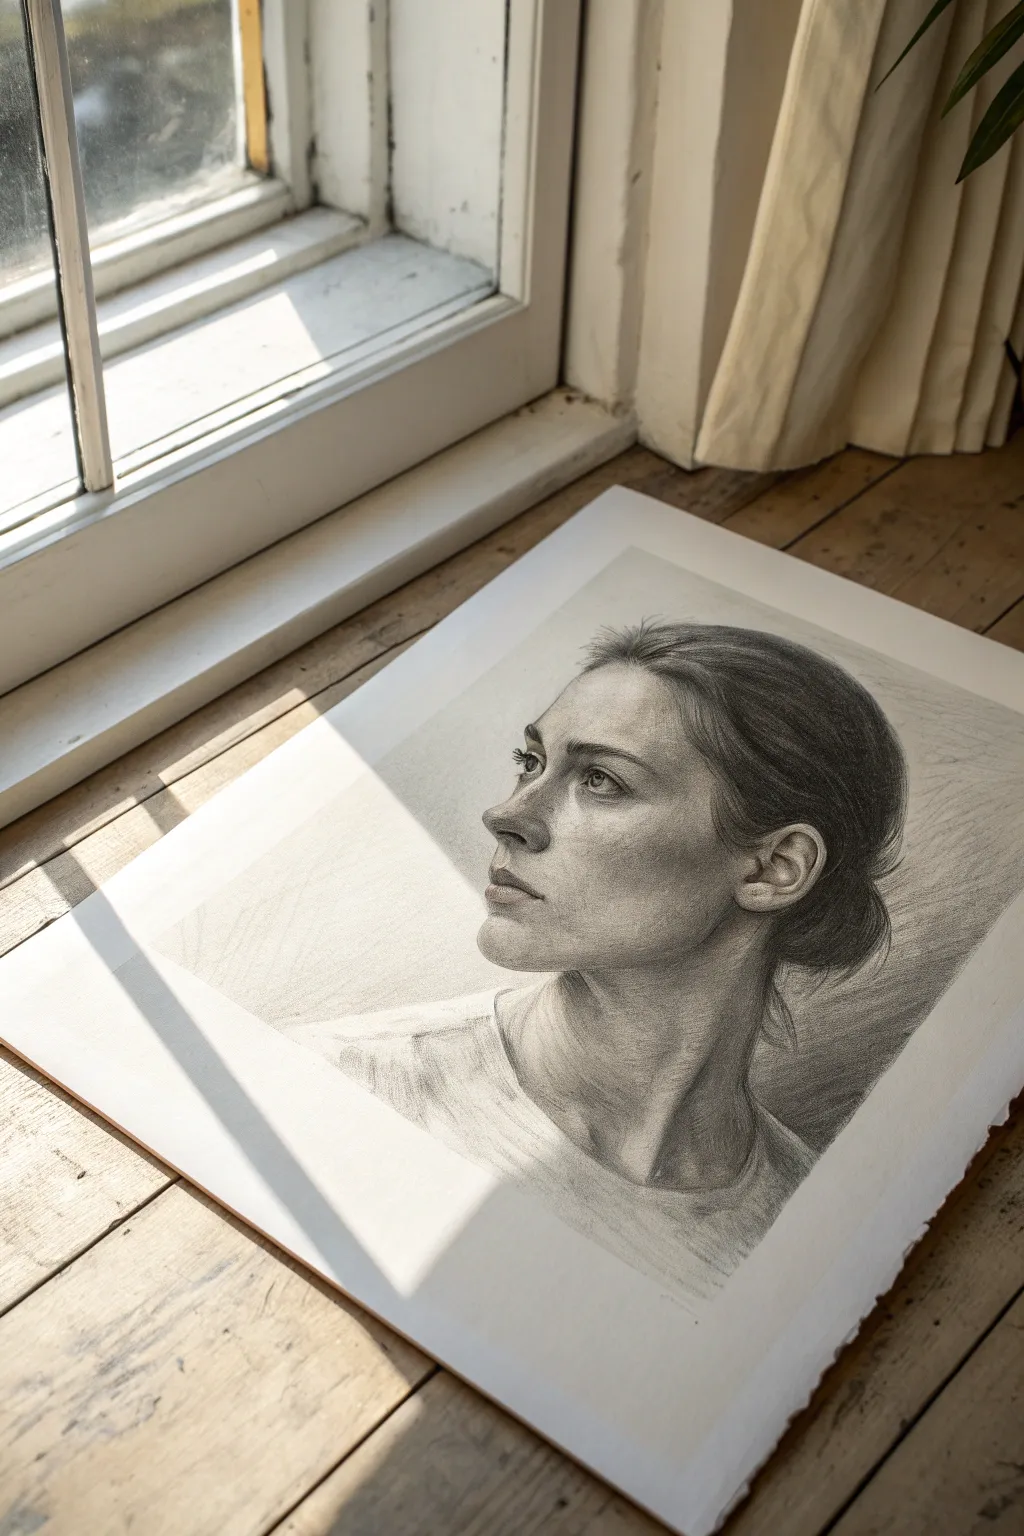
This tutorial guides you through creating a highly realistic pencil portrait that focuses on the subtle interplay of light and shadow across a subject’s face. You will learn to render delicate skin textures, lifelike hair, and the gentle translucency of soft window lighting.
Step-by-Step Guide
Materials
- High-quality drawing paper (smooth or vellum finish, heavyweight)
- Graphite pencils (HB, 2B, 4B, 6B)
- Charcoal pencil (black, for deepest shadows)
- Kneaded eraser
- Precision eraser (pencil style or mono zero)
- Blending stumps (tortillons)
- Soft tissue or chamois cloth
- Artist tape
Step 1: Laying the Foundation
-
Establish the proportions:
Begin with an HB pencil using very light pressure to sketch the basic oval of the head and the curve of the neck. This initial stage is crucial for accurate anatomy, so don’t rush the placement of the eye line, nose base, and mouth. -
Refine the features:
Carefully draw the specific shapes of the profile—the slope of the nose, the fullness of the lips, and the angle of the jawline. Keep your lines faint so they disappear later. -
Map the shadows:
Lightly outline the major shapes of the shadows on the face, specifically under the jaw, the eye socket, and the side of the nose. This map will guide your shading process.
Step 2: Developing the Tone
-
Apply the base tone:
Using a 2B pencil and the side of the lead, apply a very soft, even layer of graphite over the shadowed areas. Avoid hard edges at this stage; think of it as a soft underpainting. -
Blend the first layer:
Take a soft tissue or a clean blending stump and gently smooth out the graphite you just laid down. This creates a skin-like base free of pencil strokes. -
Deepen the darks:
Switch to a 4B pencil to darken the core shadows—the areas under the chin, the nostril, and the pupil. Build this darkness gradually rather than pressing hard all at once. -
Sculpt the eye:
Sharpen your 2B pencil to a fine point to draw the details of the iris and details of the eyelids. Remember to leave a crisp white highlight in the eye to bring it to life. -
Refine the nose and mouth:
Use the blending stump to shape the nose, pulling shadow away from the highlight. For the lips, shade vertically along the curve of the lip to mimic texture, keeping the corners soft.
Fixing Muddy Shading
If skin tones look ‘muddy’ or grey rather than luminous, you likely over-blended. Lift some graphite with a kneaded eraser and re-apply crisp, unblended hatching on top to add texture back.
Step 3: Hair and Texture
-
Block in hair masses:
Treat the hair as large shapes of value first, rather than individual strands. Use a 4B or 6B pencil to fill in the dark bulk of the hair bun and the gathered sections. -
Create directional flow:
Once the dark mass is established, use a sharpened pencil to draw strokes following the direction of hair growth. Varian the pressure to create depth. -
Lift out highlights:
Using your kneaded eraser, pinch it into a wedge shape and ‘draw’ light back into the hair by lifting graphite. This simulates glossy strands catching the light. -
Add stray hairs:
With a very sharp HB pencil, add a few loose, wispy hairs escaping the bun and near the forehead. These ‘flyaways’ add significant realism.
Level Up: Paper Texture
Try using cold-press watercolor paper instead of smooth bristol. The slight tooth (bumpiness) of the paper adds a natural ‘pore’ texture to the skin when shaded lightly.
Step 4: Final Polish
-
Rendering the neck and shirt:
Use broad strokes for the neck shadows, paying attention to the anatomy of the sternocleidomastoid muscle. Suggest the t-shirt folds loosely with lighter, gestural shading. -
Intensify contrasts:
Bring in the charcoal pencil for absolute blacks if needed, particularly in the deepest crevices of the hair or the pupil, but use it sparingly. -
Micro-adjustments:
I like to step back at this point to check the overall value balance. If the skin looks too flat, lightly dab with a kneaded eraser to reveal localized highlights on the cheekbone and nose tip. -
Clean the edges:
Use your precision eraser to clean up the background around the profile, ensuring the silhouette is distinct against the white paper.
Allow the drawing to rest overnight and give it one final look with fresh eyes before sealing it with a fixative


Magic Realism Double-Exposure Portrait
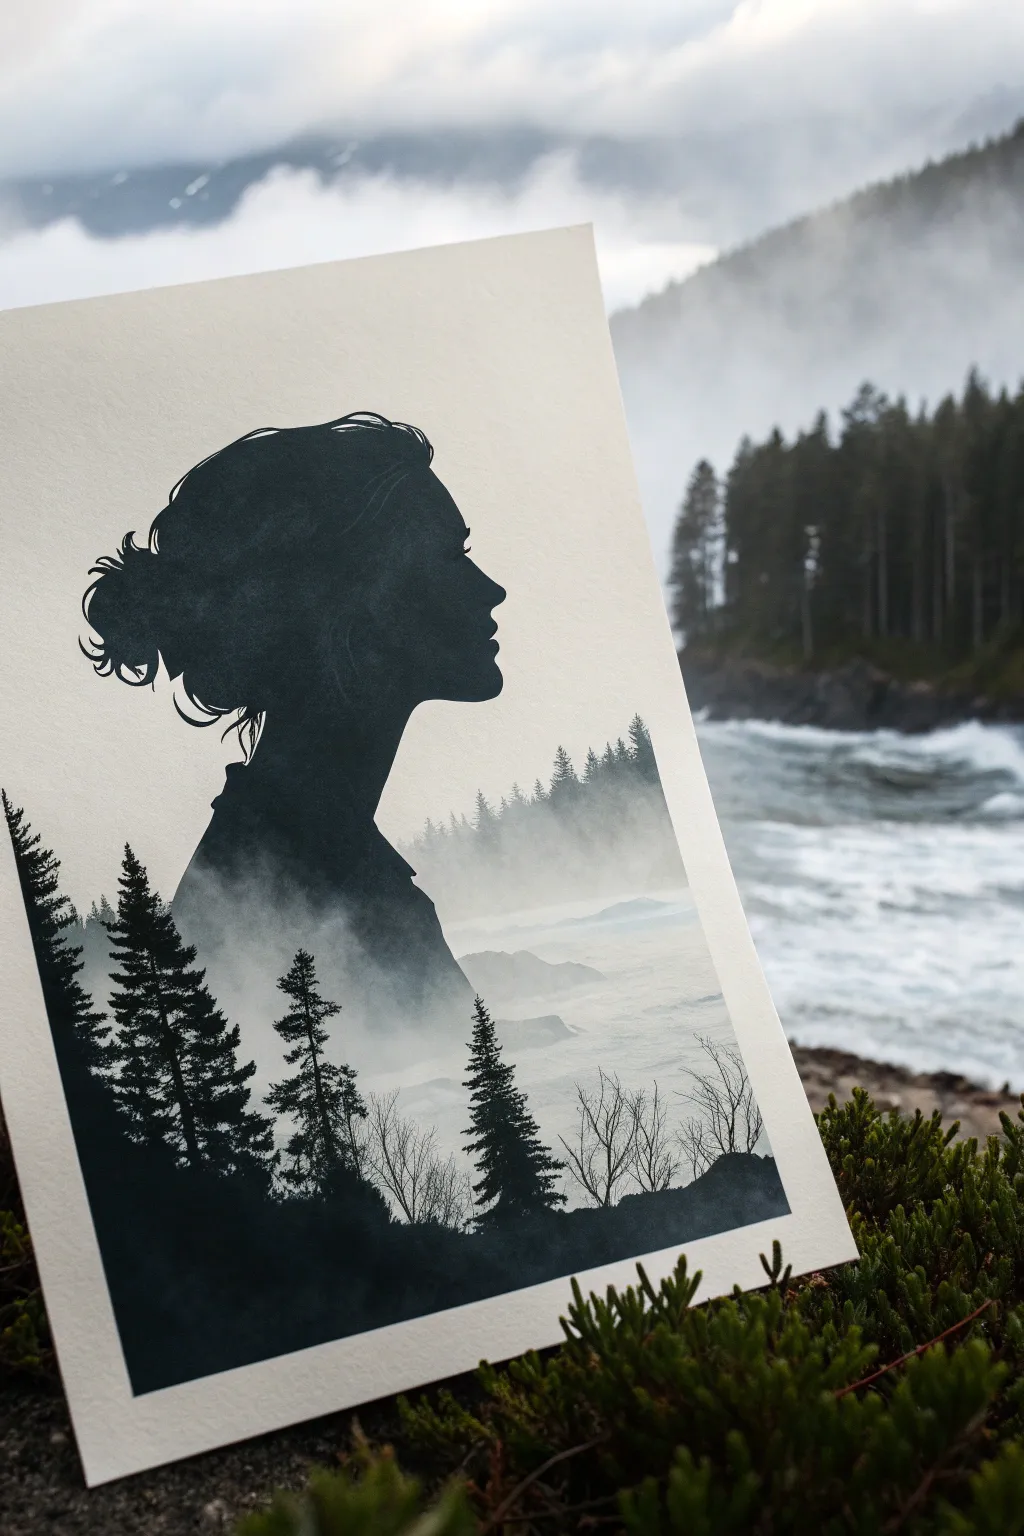
This captivating project merges the distinct profile of a portrait with the ethereal beauty of a foggy landscape, creating a seamless double-exposure effect on paper. Using acrylics or gouache, you’ll learn to mask a silhouette and blend misty layers to achieve this moody, magical realism piece.
How-To Guide
Materials
- Heavyweight watercolor or mixed media paper (300gsm)
- Pencil and eraser
- Masking fluid or masking tape
- Acrylic paints or gouache (Black, Titanium White, Prussian Blue, Payne’s Gray)
- Flat brushes (medium and small)
- Detail round brush (size 0 or 1)
- Sea sponge or stippling brush
- Reference photo of a side profile profile
- Mixing palette
- Water jar and paper towels
Step 1: Planning the Silhouette
-
Lightly sketch the profile:
Begin by sketching the outline of a woman’s profile facing right. Focus on the major shapes—the bun of hair, the nose, and the chin. Keep your pencil lines very faint so they don’t show through later. -
Refine the hairline:
Add stray details to the bun at the back of the head. These little curls and flyaways are crucial for making the silhouette look natural and human rather than like a rigid cutout. -
Mask the negative space:
This step requires patience. Apply masking fluid carefully around the *outside* of your pencil line (the negative space). If you don’t have masking fluid, you can carefully paint the white background later, but masking ensures a crisp edge. Let it dry completely.
Step 2: Creating the Atmoshere
-
Establish the background tone:
Inside the silhouette, we need a base. Mix a very pale gray wash (mostly white with a tiny dot of black or blue). Paint the entire interior shape with this light gray to act as your ‘fog’ foundation. -
Paint the distant water:
Towards the bottom third of the profile, paint horizontal streaks of slightly darker gray-blue to suggest calm water. Keep the edges soft and blurry to mimic distance. -
Build the mist:
I like to use a damp sea sponge or a dry brush here. Dab pure white paint lightly over the transition area between the sky and the water to create patches of rising fog. -
Layer the distant trees:
Mix a light charcoal gray. Using a small flat brush, tap in a row of small, indistinct tree shapes along the horizon line (roughly where the neck meets the shoulder). These should look faded and far away. -
Soften the tree bases:
While the paint is still wet, run a clean, damp brush along the bottom of this distant tree line to blur it into the white mist below.
Hairline Secrets
For the most realistic hair silhouette, flick your brush quickly outward at the bun. These tapered, rapid strokes mimic the texture of hair much better than slow, careful lines.
Step 3: Adding Depth and Detail
-
Paint the middle ground:
Mix a darker gray, adding a touch of Prussian Blue for depth. Paint larger, more defined pine trees slightly lower on the paper. Use the tip of a round brush to create the jagged branches. -
Insert the foreground trees:
Switch to pure black or a very dark Payne’s Gray. On the left side (the back of the neck/hair area), paint large, sharp pine trees. Ensure the branches are detailed and crisp. -
Define the bottom edge:
Ground the composition by painting a solid black landscape silhouette along the very bottom of the profile shape. Add some bare branch details sticking up to suggest shrubs. -
Enhance the fog layers:
Once the trees are dry, glaze a very thin, watery layer of white over the base of the middle trees. This pushes them back into the distance and enhances the ‘double exposure’ ghostly effect. -
Check the contrast:
Step back and look at your tonal values. The trees nearest the viewer should be darkest, fading to light gray in the distance.
Inject Color
Instead of a monochrome palette, try painting the internal landscape with a ‘golden hour’ gradient using warm oranges and purples.
Step 4: Refining the Silhouette
-
Remove the mask:
If you used masking fluid, gently rub it away once the painting is 100% dry. Revealing that crisp edge is always the most satisfying part. -
Solidify the profile:
If the edges look messy, use white acrylic to clean up the negative space outside the profile. Alternatively, if you want the top of the head to look solid, paint the upper hair area solid black, fading it gradually into the landscape below. -
Add hair details:
Using your smallest detail brush and black paint, add tiny, sharp flyaway hairs escaping the main silhouette. This creates a realistic transition between the painted void and the white paper. -
Final touches:
If the transition between the solid black head and the landscape feels too abrupt, use a dry brush with a tiny amount of black paint to feather the edge, making it look like the hair is dissolving into the trees.
Place your finished piece in a simple frame to let the mysterious dual-image narrative speak for itself


Have a question or want to share your own experience? I'd love to hear from you in the comments below!