
Teacher Appreciation Week is the perfect excuse to turn a simple drawing into a heartfelt thank-you your teacher will actually keep. I pulled together my favorite teacher appreciation week drawing ideas that feel doable for any skill level, from quick card fronts to fun fold-and-reveal surprises.
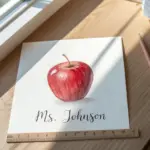
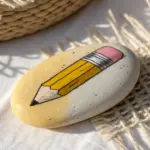
Classic Apple Thank-You Card Front


This timeless greeting card combines the iconic symbol of education with a textured, vintage-inspired aesthetic. The bold red apple and crisp lettering create a professional yet heartfelt message that mimics the look of a traditional block print.
Step-by-Step
Materials
- Heavyweight cream or off-white cardstock (folded to A5 or 5×7 size)
- Red acrylic paint or block printing ink
- Green acrylic paint or marker
- Black fine-liner pen
- White gel pen or white acrylic paint with a fine brush
- Pencil and eraser
- Small flat paintbrush
- Masking tape or painter’s tape
- Tracing paper (optional)
Step 1: Drafting the Design
-
Prepare your canvas:
Start with your folded cardstock laid flat on your workspace. Ensure the fold is on the left so the card opens correctly. -
Sketch the apple shape:
Lightly sketch a large, rounded apple shape in the center of the card using a pencil. Aim for a symmetrical heart-like shape but with a flattened bottom. -
Add the banners:
Draw two curved banner shapes across the lower half of the apple. The top banner should be slightly wider and curve downward, while the bottom banner sits just below it. -
Refine the banners:
Add small triangular notches to the ends of the bottom banner to create a ribbon effect. Make sure the lines are clean, as these will remain unpainted or be painted over later. -
Lettering layout:
Lightly pencil within the banners the words ‘THANK YOU’ on the top strip and ‘TEACHER’ on the bottom strip to ensure spacing is centered.
Step 2: Painting the Apple
-
Block out the banners:
If you struggle with painting around small details, use masking tape or liquid frisket to cover the banner areas where the text will go. -
Apply the red base:
Using a flat paintbrush and red acrylic paint, fill in the apple shape. I like to use a dabbing motion rather than long strokes to create a slightly stippled, textured look similar to the reference photo. -
Paint around the banners:
Carefully paint the red sections between the two banners. Be very precise with your edges here so the ribbon shapes stay distinct. -
Create texture:
While the paint is still wet, you can dab it lightly with a dry sponge or paper towel to lift tiny specks of pigment. This mimics the speckled texture of the card stock showing through. -
Let it dry completely:
Allow the red paint to dry fully. This is crucial before moving on to the text to prevent smudging.
Texture Tip
To get that gritty, printed look, mix a tiny pinch of cornstarch or sand into your red paint before applying it to the card.
Step 3: Adding Details and Text
-
Paint the leaf:
Using green paint or a marker, fill in the leaf shape at the top left of the apple. Give it a slightly pointed tip. -
Leaf detailing:
Once the green is dry, use a white gel pen or very fine brush to add delicate vein lines inside the leaf for a realistic touch. -
Draw the stem:
Take your black fine-liner pen and draw a curved stem connecting the leaf to the center dip of the apple. -
Fill the banners:
Paint the banner strips with a solid coat of red that matches the apple, or a slightly darker shade for contrast. Let this dry completely. -
Lettering:
Using a white gel pen or a fine brush with opaque white paint, carefully write ‘THANK YOU’ and ‘TEACHER’ in block capital letters over the dried red banners. -
Clean up:
Once all ink and paint are dry, gently erase any visible pencil marks around the edges of your design.
Make it a Stamp
Carve the apple shape (minus the banners) into a rubber block or potato. Stamp the red base, then hand-paint the text banners on top.
Your handmade card is now ready to convey genuine gratitude to a special educator


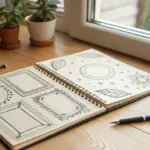
School Supplies Doodle Collage
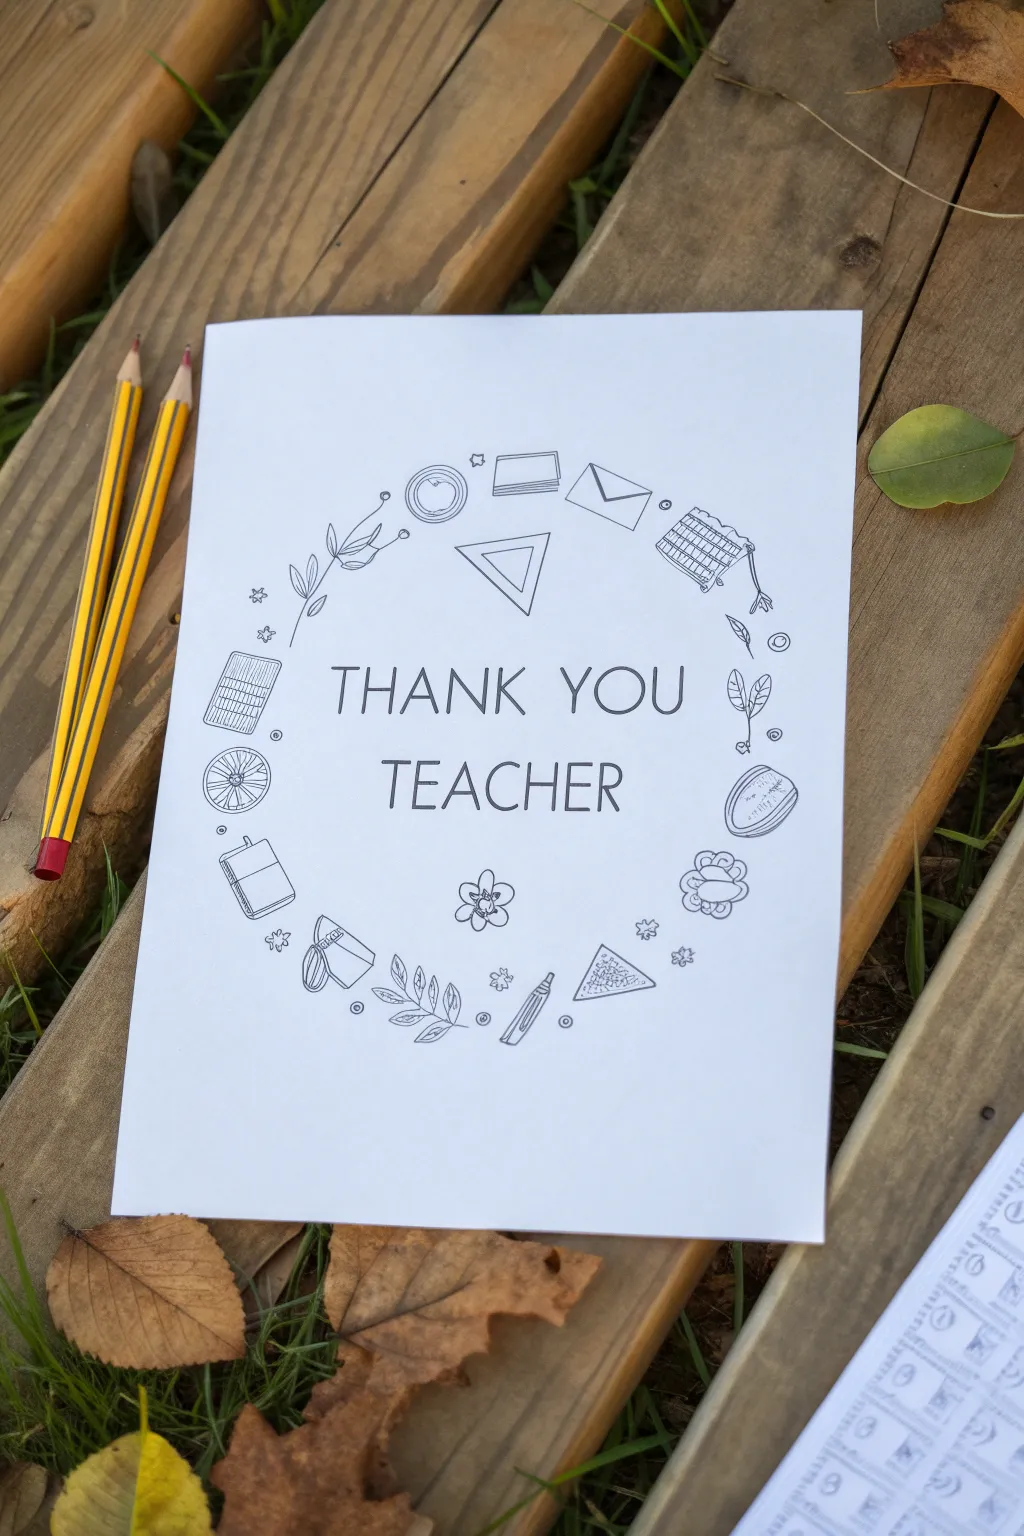
Celebrate your favorite educator with this clean and thoughtful card design featuring a wreath of hand-drawn school icons surrounding a heartfelt message. This black-and-white line art style is both modern and playful, perfect for coloring in later or leaving as a minimal masterpiece.
Detailed Instructions
Materials
- White cardstock or heavy drawing paper (A4 or letter size)
- Pencil (HB or H for light sketching)
- Fine-tip black marker (0.5mm or 0.3mm)
- Compass or a circular object to trace (approx. 6-7 inches diameter)
- Ruler
- Eraser (kneaded eraser preferred)
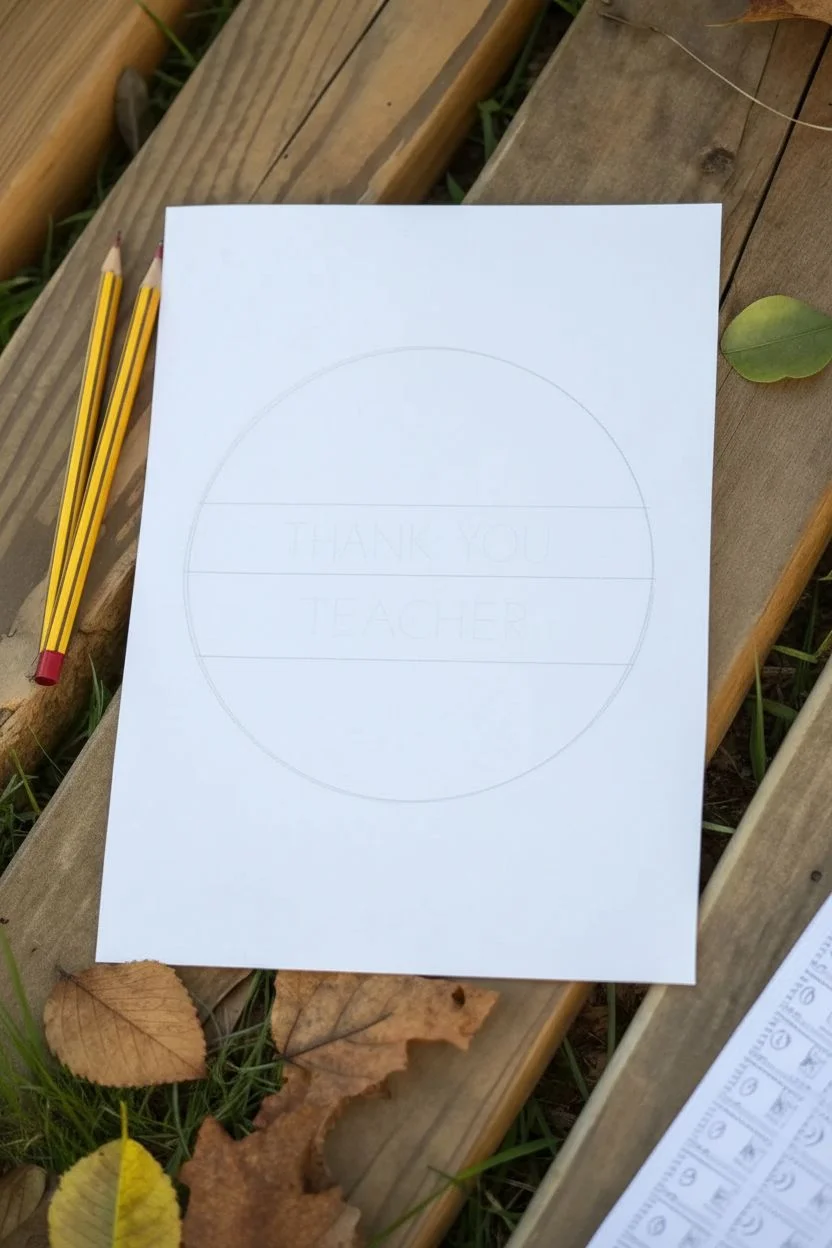
Step 1: Setting the Layout
-
Center layout:
Begin by finding the visual center of your paper. Using your pencil very lightly, mark a small ‘x’ in the middle of the page to guide your placement. -
Draw the guide circle:
Use a compass or trace around a circular object (like a bowl or small plate) to create a light pencil circle centered on your page. This will serve as the invisible path for your doodles. -
Draft text lines:
Inside the circle, use a ruler to draw two light horizontal guidelines. These will help you keep the words ‘THANK YOU’ and ‘TEACHER’ perfectly straight and aligned.
Step 2: Reviewing the Lettering
-
Sketch the letters:
Lightly sketch the words ‘THANK YOU’ on the top line and ‘TEACHER’ on the bottom line. Use a simple, uppercase sans-serif style with plenty of spacing between the letters for a clean look. -
Refine spacing:
Check that the text is centered. I like to start with the middle letters and work outward to ensure perfect balance. -
Ink the text:
Once satisfied with the placement, go over your letters with the fine-tip black marker. Use steady strokes, and allow the ink to dry for a moment before moving on.
Smudge Prevention
Place a scrap piece of paper under your drawing hand while inking. This acts as a barrier so your skin creates friction on the clear plastic/paper rather than your fresh artwork.
Step 3: Doodling the School Icons
-
Anchor drawings:
Start by sketching 4 larger items at the ‘compass points’ of your circle (top, bottom, left, right) to create balance. You might choose an envelope at the top and a flower at the bottom. -
Add geometric tools:
Sketch a triangle ruler and a protractor along the curve. Keep the lines simple and rotate the items so they follow the flow of the circle. -
Incorporate nature:
Draw small sprigs of leaves or simple flowers in the gaps. These organic shapes help soften the rigid lines of the rulers and books. -
Fill with supplies:
Add items like a calculator, a notebook, pencils, and an apple. Vary the sizes so you have a mix of medium objects and tiny filler shapes. -
Add micro-details:
Fill the tiniest empty spaces with very small circles, stars, or dots to make the wreath feel cohesive and full without looking cluttered. -
Ink the doodles:
Trace over your pencil sketches with the fine-tip black marker. Don’t worry if lines aren’t machine-perfect; the hand-drawn wobble adds charm to the doodle style.
Make it Interactive
Leave the designs as black outline art and tape two colored pencils to the card with washi tape. This turns the card into a mini activity page for the teacher to color in themselves.
Step 4: Finishing Touches
-
Erase guidelines:
Wait until the black ink is completely dry—give it a full five minutes to be safe. Then, gently erase the large circle guide and the text guidelines. -
Clean up sketch lines:
Go over the entire drawing with your eraser to remove any remaining pencil marks from your initial sketches. -
Add texture:
Use your pen to add tiny hatching or stippling (dots) inside some of the objects, like shading the apple or adding button details to the calculator, to give them depth. -
Check balance:
Take a step back and look at your wreath. If any area looks too empty, draw a tiny extra leaf or floating confetti shape to fill the void.
Now you have a charming, hand-crafted tribute ready to brighten a teacher’s day


Award Ribbon for “#1 Teacher”


Celebrate your favorite educator with this charming, hand-drawn greeting card featuring a classic award ribbon motif. The design combines clean lines with soft, textured shading to create a warm and personal token of appreciation.
Step-by-Step
Materials
- Heavyweight white cardstock (folded)
- Black fineliner pens (0.3mm and 0.5mm)
- Colored pencils (teal/light blue, gold/ochre, orange-red)
- Circle template or compass
- Ruler
- Pencil and eraser
Step 1: Drafting the Main Shapes
-
Center the Badge:
Begin by lightly sketching a medium-sized circle in the lower center of your card front using a pencil and circle template. Leave enough room below for the ribbons. -
Inner Circle:
Draw a slightly smaller concentric circle inside the first one to create the rim of the award badge. -
Ribbon Tails:
Sketch two ribbon tails extending downwards from the bottom of the circle. They should flare out slightly and end in inverted ‘V’ cuts. -
Top Star:
Above the main circle, pencil in a five-pointed star. It doesn’t need to be perfectly symmetrical; a slight hand-drawn feel adds charm.
Clean Circles Tip
If you don’t have a compass, trace the rim of a small glass or a washi tape roll to get a perfect circle for your badge.
Step 2: Inking the Outline
-
Trace Main Lines:
Grab your 0.5mm fineliner and carefully ink over your pencil lines for the badge circles, the ribbon tails, and the top star. -
Add Badge Detail:
Inside the rim of the badge (the space between your two circles), draw small, evenly spaced vertical lines all the way around to create a textured border effect. -
Lettering:
In the center of the badge, write ‘#1’ on the top line and ‘TEACHER’ below it. Use a simple, clean print font. I like to thicken the downstrokes of the letters slightly for emphasis. -
Radiating Lines:
Around the top star, draw several short lines radiating outward to signify shining light. Vary the lengths for a dynamic look. -
Background Elements:
Scatter small drawn stars of different sizes and tiny dots around the main design to fill the white space without crowding it. -
Erase Sketches:
Once the ink is completely dry, gently erase all underlying pencil marks.
Add Some Shine
Use a metallic gold gel pen for the ribbons and stars instead of colored pencils to give the award a real shimmering effect.
Step 3: Adding Color and Texture
-
Color the Rim:
Use a teal or light blue colored pencil to fill in the rim of the badge. Apply light pressure to keep the texture visible. -
Gold Ribbons:
Color the hanging ribbon tails with a gold or ochre pencil. Shade slightly darker near the top where they meet the badge to create depth. -
Top Star Shading:
Color the top star with the same gold pencil. You can leave a tiny white circle in the center of the star as a highlight. -
Highlight the Text:
Carefully trace over the ‘#1’ with an orange or dark yellow pencil to make it pop against the white background. -
Filling Background Stars:
Color in your scattered background stars. Alternate between orange, gold, teal, and even a dark blue-grey for the smaller stars. -
Final Dots:
Use your colored pencils to add tiny colored dots among the stars, coordinating with your chosen color palette.
Give this handmade award to a teacher who truly deserves the top spot


Trophy Cup With Gratitude Banner

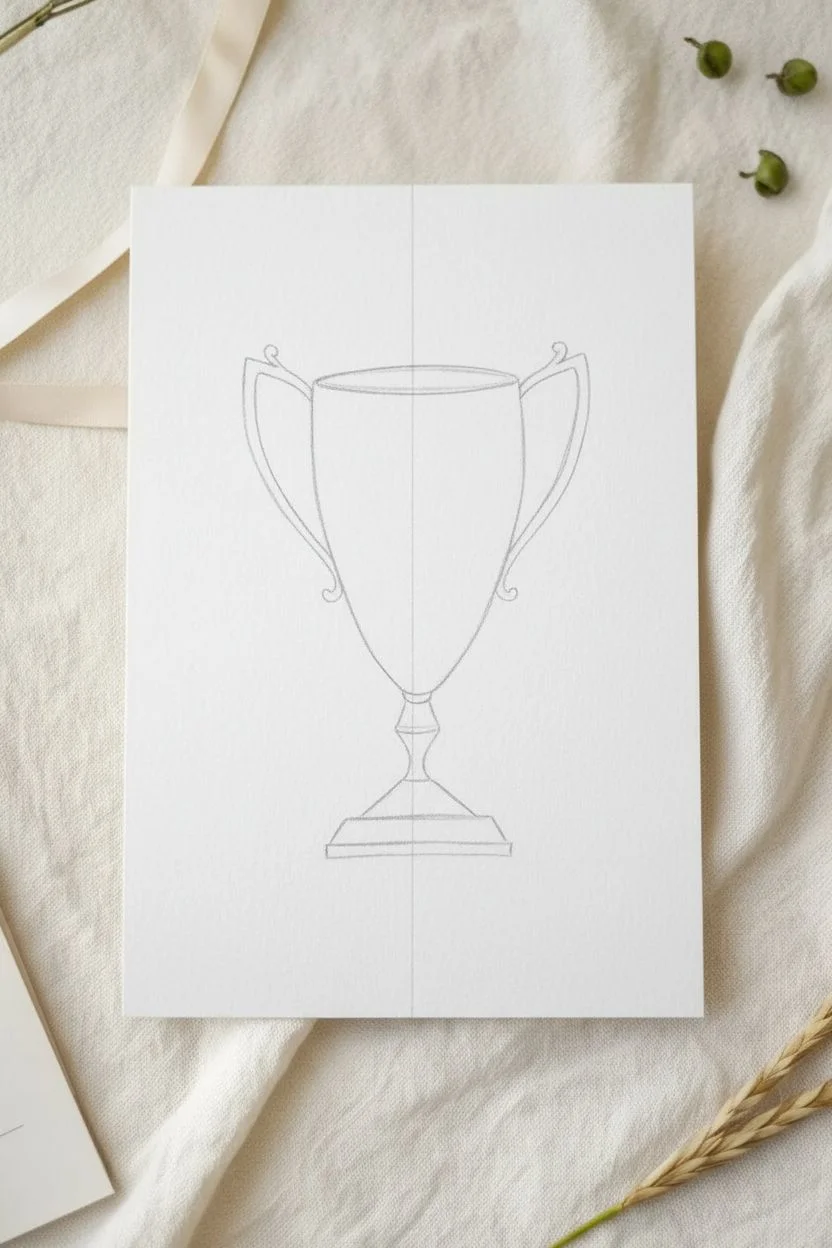
Show your favorite educator they’re number one with this classic trophy cup illustration. Using warm golden tones and clean linework, creates a timeless card design that feels both personal and high-quality.
Step-by-Step Tutorial
Materials
- High-quality white cardstock or watercolor paper
- HB graphite pencil
- Kneaded eraser
- Fine-liner pen (black or dark brown, 0.3mm or 0.5mm)
- Colored pencils (Yellow Ochre, Burnt Sienna, Cream/Pale Yellow, Sage Green)
- Ruler (optional)
- Sharpener
Step 1: Sketching the Framework
-
Establish the centerline:
Begin by lightly drawing a vertical line down the center of your paper. This guide will ensure your trophy remains symmetrical and upright. -
Outline the cup shape:
Draw a wide U-shape for the main bowl of the cup, centered on your line. Add a flat oval at the top to represent the opening. -
Add the stem and base:
Below the bowl, sketch a narrow hourglass shape for the stem. Connect this to a tiered base, which looks like a few stacked, flattened trapezoids widening at the bottom. -
Sketch the handles:
Draw two large, looped handles extending from the sides of the bowl. They should angle slightly upward before curving back down to meet the cup’s side. -
Draft the banner:
Across the front of the cup, sketch a waving ribbon shape. The center section should dip slightly, with the ends folding back and tucking behind the cup. Make sure the banner is tall enough to fit text legibly.
Uneven Symmetry?
If your cup looks lopsided, fold a scrap piece of paper in half, cut out a half-trophy shape, and trace it onto your card for perfect symmetry.
Step 2: Adding Details & Inking
-
Reference the laurel leaves:
Lightly sketch two curving stems rising from behind the base on either side. Add small, almond-shaped leaves in pairs along these stems. -
Pencil in the text:
Carefully print ‘BEST TEACHER’ inside the banner using block letters. I find it helpful to mark the center of the phrase first to ensure balanced spacing. -
Ink the outlines:
Trace over your pencil sketch with a fine-liner pen. Use a confident, steady hand. You can break the lines slightly on the banner folds to suggest depth. -
Erase guidelines:
Wait for the ink to dry completely to avoid smudging, then gently remove all graphite lines with your kneaded eraser.
Make it Sparkle
Once the drawing is finished, use a gold gel pen to add tiny dots or starbursts around the trophy for a magical, glittering effect.
Step 3: Coloring and Shading
-
Base layer of yellow:
Take your cream or pale yellow pencil and fill in the entire trophy cup surface. Use light pressure to keep the texture smooth. -
Add golden depth:
Layer a yellow ochre color on the sides of the cup, underside of the bowl, and the right side of the stem. This indicates a light source coming from the left. -
Create metallic highlights:
Leave a vertical strip on the left side of the cup lighter or nearly white. This high-contrast reflection is what makes the object look like shiny metal. -
Deepen shadows:
Use a burnt sienna or light brown pencil to add the darkest shadows under the rim, beneath the banner, and on the right-most edges of the base and handles. -
Color the banner:
Lightly shade the banner with a very pale gray or warm beige. Shade the ‘folded back’ sections of the ribbon a slightly darker tone to push them into the background. -
Fill in the greenery:
Color the laurel leaves with a soft sage green. Keep the coloring light and airy rather than fully opaque. -
Final touches:
Reinforce the lettering if needed with your pen, ensuring the message stands out clearly against the banner background.
This bright, heartfelt card is now ready to make a special teacher feel truly appreciated


Have a question or want to share your own experience? I'd love to hear from you in the comments below!