When you’re craving smart drawing ideas, you’re usually looking for something that feels clever on purpose—either a juicy visual metaphor or a simple technique that looks way fancier than it is. Here are my go-to prompts that make your sketchbook feel like a little idea lab, not just a place to copy what you see.
Lightbulb Worlds
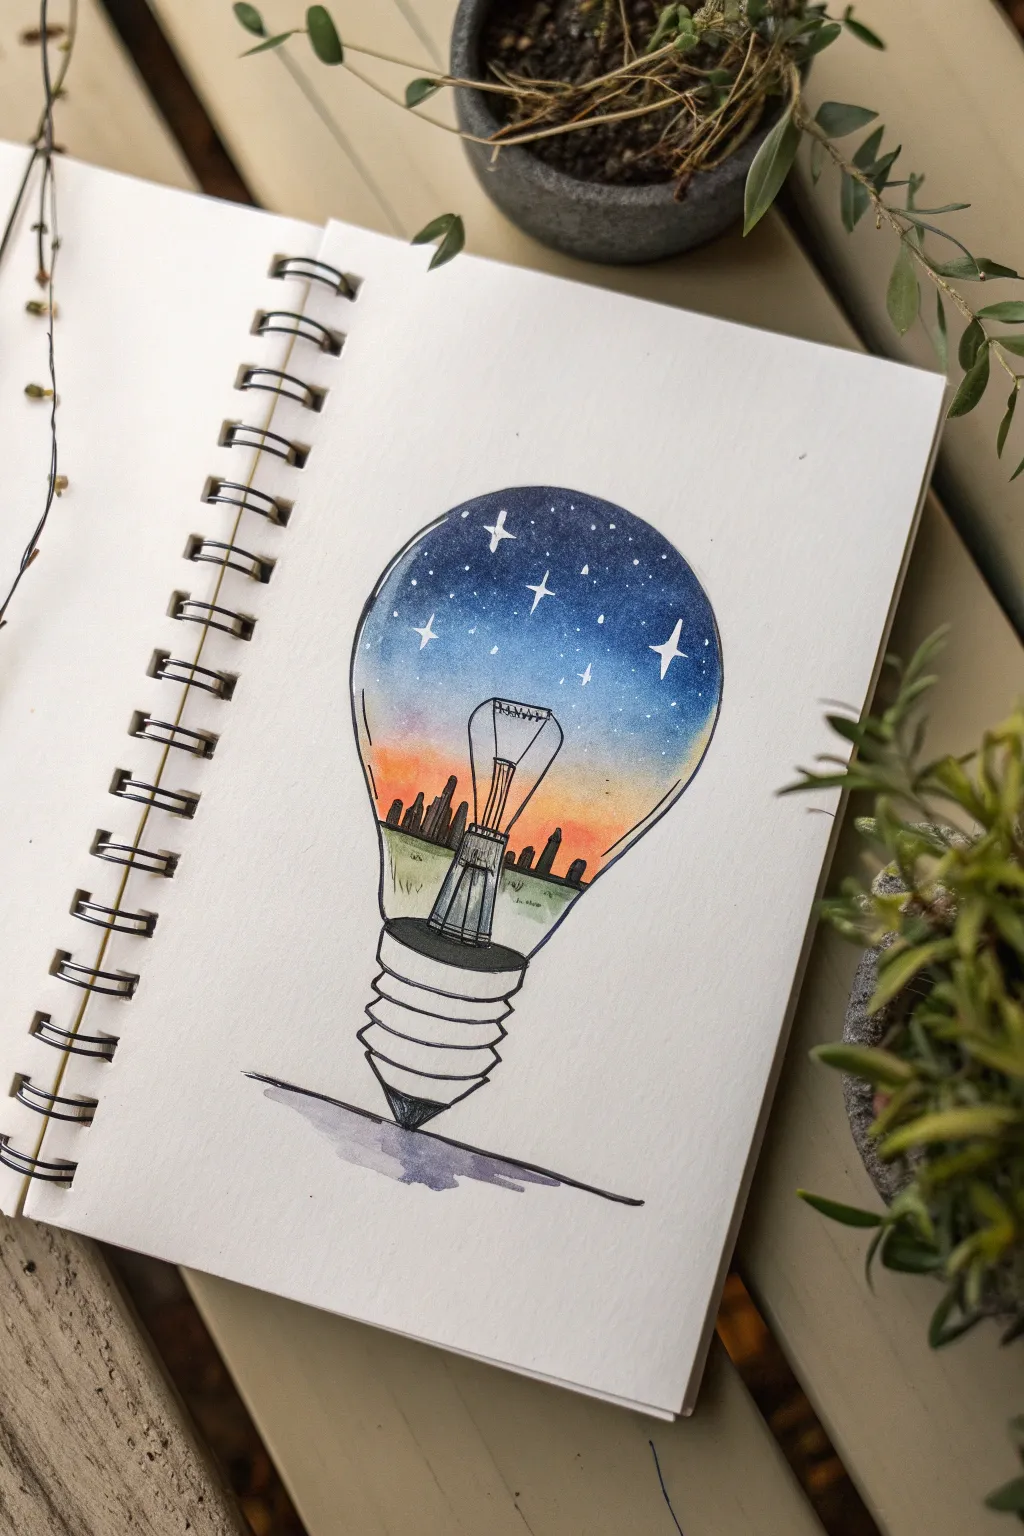
Capture the magic of a twilight cityscape contained within a simple household object. This drawing combines watercolor blending techniques with crisp ink lines to create a surreal little universe inside a lightbulb.
Step-by-Step Tutorial
Materials
- Sketchbook with mixed media or watercolor paper
- Pencil (HB or H)
- Fine liner pens (0.1mm, 0.3mm, and 0.5mm)
- White gel pen
- Watercolor paints (Indigo, Cobalt Blue, Orange, earthy Green)
- Round watercolor brush (size 4 or 6)
- Ruler
Step 1: Drafting the Outline
-
Sketch the bulb shape:
Start with a light pencil sketch of the main lightbulb shape. Draw a large circle for the top, tapering down into a neck. Don’t worry about perfection; focus on symmetry. -
Add the base structure:
Below the neck, sketch the screw base. It consists of a series of stacked, rounded rectangles and a pointed tip at the very bottom. -
Define the filament:
Inside the bulb, draw the central stem and the wire supports. These should look like thin, vertical lines rising from the base, holding a small horizontal coil near the center. -
Establish the horizon:
Draw a faint horizontal line across the lower third of the bulb glass. This will separate your city skyline from the ground below.
Step 2: Inking the Foundation
-
Outline the glass:
Using a 0.5mm fine liner, trace the outer perimeter of the lightbulb. Keep your hand steady for a smooth curve. -
Detail the base:
Switch to a 0.3mm pen to ink the screw threads of the metal base. Add a few small hatched lines on the side to suggest metallic shading. -
Ink the filament structure:
Carefully trace the internal glass stem and wire supports using your finest 0.1mm pen. These lines need to remain delicate so they don’t overpower the scene later. -
Draw the skyline:
along the horizon line, draw tiny silhouettes of buildings. Use varying heights—some tall skyscrapers, some lower blocks—to create an interesting cityscape profile. Fill these shapes in solid black.
Clean Edges
To keep the watercolor perfectly inside the bulb shape, outline the inner edge with a clear wax crayon before painting. It acts as an invisible resist barrier.
Step 3: Painting the Atmosphere
-
Start the sky gradient:
Wet the paper inside the top portion of the bulb with clean water. Load your brush with indigo or deep blue and touch it to the very top curve, letting the color bleed downward. -
Blend the mid-tones:
While the top is wet, introduce a lighter cobalt blue below the indigo. Blend them gently where they meet to create a soft transition. -
Add the sunset glow:
Rinse your brush thoroughly. Near the skyline silhouette, paint a strip of warm orange. Carefully blend the top edge of the orange into the fading blue to create a twilight effect. -
Paint the ground:
Beneath the black cityscape, apply a wash of muted, earthy green. Keep this color transparent so you can still see the base of the filament structure through it. -
Wait for drying:
Let the paint dry completely. Bringing ink in too soon will cause it to feather and ruin the crisp lines.
Season Change
Swap the color palette to change the mood. Use purples and pinks for a galaxy theme, or light blues and whites for a winter snow globe scene.
Step 4: Final Touches
-
Reinforce the cityscape:
If the watercolor wash has dulled your black buildings, go over them again with your black pen to make them pop against the sunset. -
Add stars:
Using a white gel pen, dot tiny stars into the dark blue section of the sky. Draw a few slightly larger 4-point stars for variety. -
Create the shadow:
Mix a very watery grey or light purple. Paint a simple cast shadow extending from the bottom tip of the bulb to ground the object. -
Add a reflection line:
With the white gel pen, draw a thin, curved line along the upper right side of the glass bulb to suggest a glossy reflection.
Now you have a captured moment of twilight preserved forever in your sketchbook
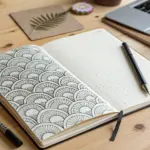

Split-Brain Doodle Map
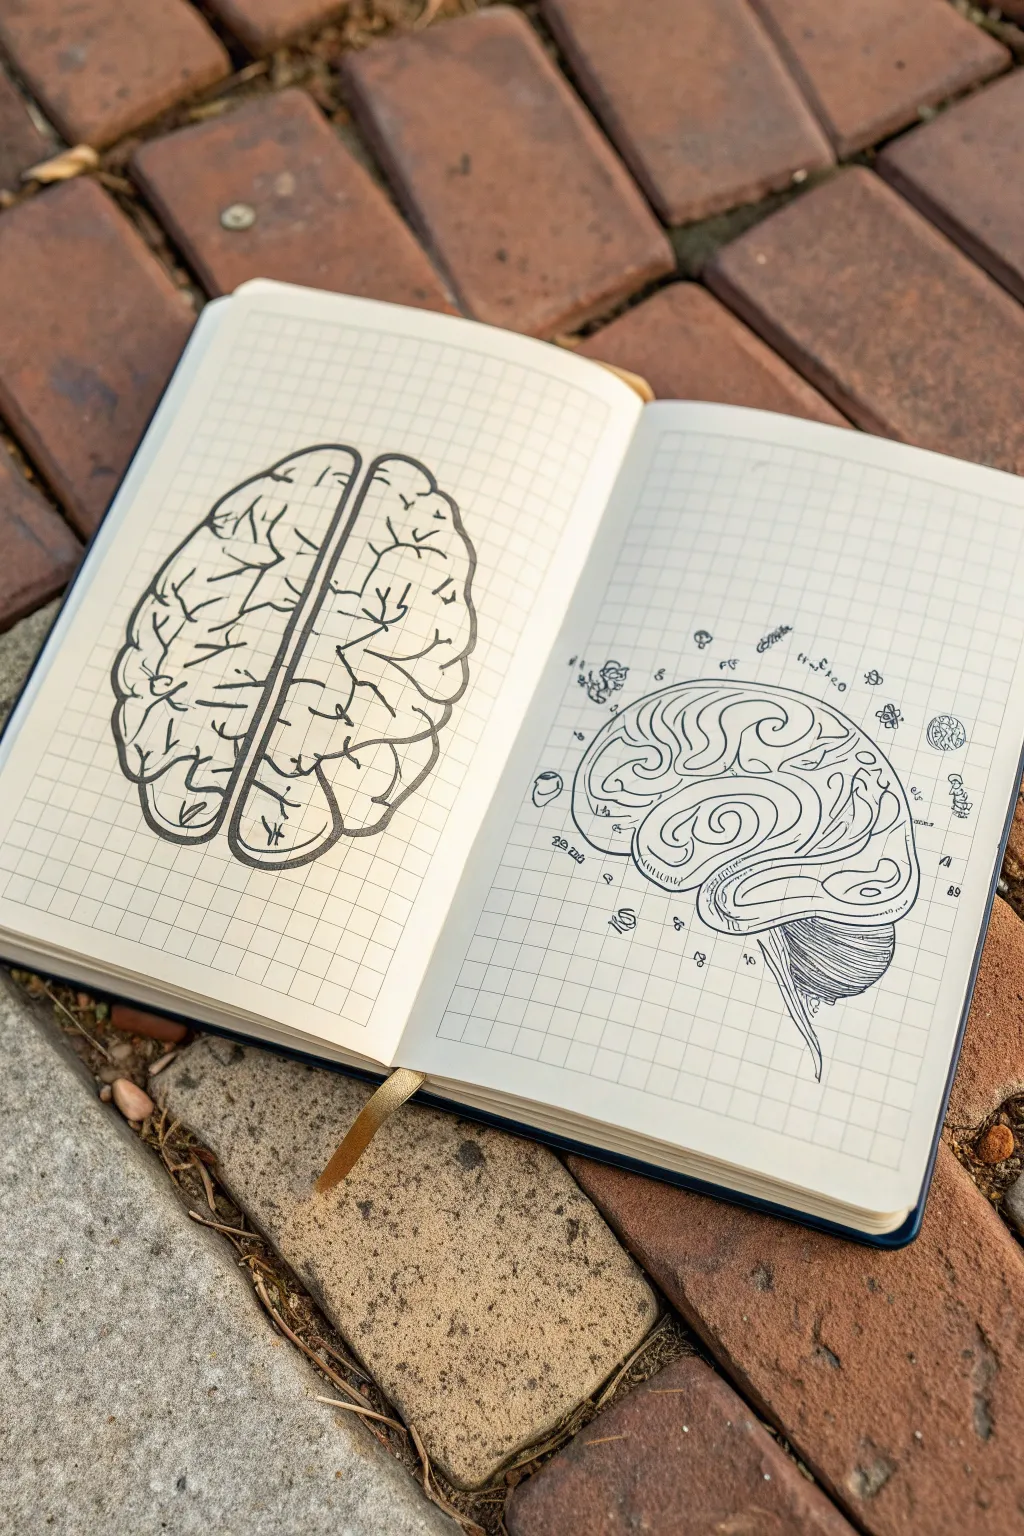
This dual-page spread captures the complexity of the human mind with a simple, illustrative style on crisp graph paper. By separating the brain into a top-down view and a side profile, you create a striking anatomical study that feels both scientific and artistically loose.
Step-by-Step
Materials
- Grid paper notebook (A5 size works best)
- Black fineliner pen (0.5mm)
- Black fineliner pen (0.1mm or 0.2mm for details)
- Pencil
- Eraser
Step 1: Left Page: The Top-Down View
-
Map the boundaries:
Begin with your pencil on the left page. Draw two large, mirrored kidney-bean shapes that meet in the center of the page. Leave a distinct gap between them to represent the longitudinal fissure separating the hemispheres. -
Define the center line:
Using your 0.5mm fineliner, ink the central gap first. Draw two bold, parallel lines curve gently, almost touching at the top and bottom but bowing out slightly in the middle. -
Outline the hemispheres:
Trace the outer perimeter of your pencil sketch with the 0.5mm pen. Keep the line weight fairly consistent but allow for a little wobble to mimic organic tissue. -
Sketch the major fissures:
Switch to your finer 0.1mm pen. Inside the left hemisphere, draw a few long, branching lines that radiate outward from the center like lightning bolts. Repeat this mirror-image style on the right hemisphere. -
Add the sulci texture:
Fill the remaining space with smaller, squiggly ‘Y’ and ‘V’ shapes. These don’t need to connect perfectly; they just suggest the folded texture of the brain’s surface. -
Thicken key intersection points:
Go back with the thicker pen and darken the small corners where your major lines branch off. This adds depth and makes the drawing pop off the grid.
Grid Guide
Use the grid lines to ensure symmetry on the left page. Count squares from the center seam to make sure both hemispheres utilize the same width.
Step 2: Right Page: The Side Profile
-
Outline the profile shape:
On the right page, lightly pencil a large, rounded boxing-glove shape facing right. This forms the cerebrum. Below it at the back, sketch a smaller, rounded lump for the cerebellum. -
Draw the brainstem:
Extending down from the center, sketch a stalk-like structure tapering downwards. This is the brainstem connecting to the spinal cord. -
Ink the main contours:
Take the 0.5mm pen and ink the main outline. For the cerebellum (the small lump at the back), use tightly packed horizontal lines to distinguish its texture from the rest of the brain. -
Create the winding folds:
Inside the main brain shape, draw long, continuous curvy tubes. Imagine squeezing toothpaste—create looping, intestinal shapes that nestle into one another. -
detail the cerebellum:
I prefer to switch to the 0.1mm pen here to add very fine, dense hatching lines across the cerebellum, emphasizing its striated structure. -
Add the stem texture:
Draw vertical, fibrous lines running down the length of the brainstem to suggest muscle and nerve fibers. -
Scatter floating symbols:
Around the outside of the side-profile view, draw tiny icons with your fine pen. Sketch small atoms, formulas, clouds, or geometric shapes to represent thoughts and ideas escaping the mind.
Step 3: Finishing Touches
-
Erase pencil guides:
Wait at least five minutes to ensure the ink is completely dry, then gently erase all visible pencil marks from both pages. -
Enhance line weight:
Review your drawing for balance. If the outside edges feel too thin compared to the internal details, go over the perimeter one last time with the 0.5mm pen to create a bold container for your sketch.
Color Code It
Use colored highlighters to shade different lobes (frontal, parietal, etc.) for a study aid that doubles as art.
Close your notebook knowing you’ve mapped out a beautiful piece of anatomy.


One-Line Portrait With a Twist
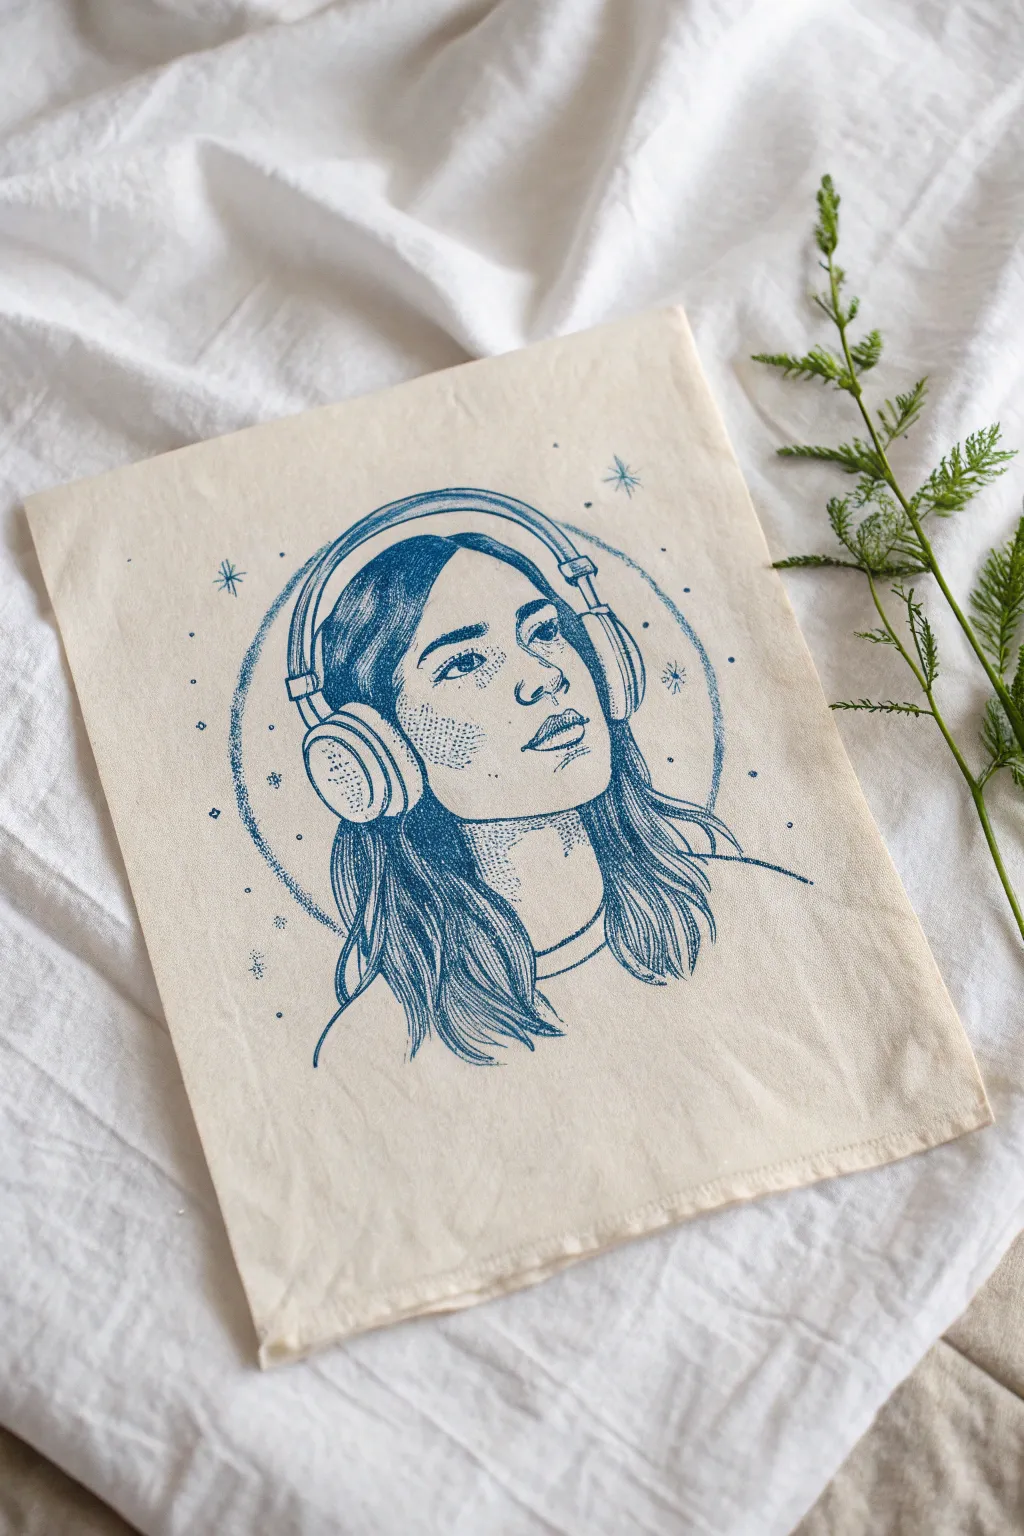
Transform a plain canvas tote into a wearable piece of art with this ethereal, mono-colored portrait. Using deep blue fabric ink, you’ll create a stippled, vintage-style illustration of a music lover lost in their own universe.
Detailed Instructions
Materials
- Light beige canvas tote bag or cotton fabric panel
- Fabric marking pencil (vanishing or light graphite)
- Fabric ink or permanent fabric marker (Deep Navy or Indigo)
- Fine-point drawing nib or fine liner pen suitable for fabric
- Small stiff-bristled brush (for texture)
- Iron (for heat setting)
- Piece of cardboard (to insert inside bag)
- Sketch paper and pencil for drafting
- Ruler or compass (optional)
Step 1: Preparation and Sketching
-
Prepare the Surface:
Begin by washing and drying your canvas tote to remove any sizing chemicals that might repel the ink. Give it a good press with an iron to ensure a perfectly smooth drawing surface. -
Insert Protection:
Slide a piece of thick cardboard or a cutting mat inside the tote bag. This is crucial—it prevents the ink from bleeding through to the back side of the bag while you work. -
Draft the Design:
On a separate piece of paper, sketch your portrait first. Focus on the tilt of the head and the placement of the headphones. You don’t need every detail yet, just the main contours. -
Transfer the Outline:
Lightly transfer your sketch onto the canvas using a fabric marking pencil. Start with the oval of the face, the neck, and the large arch of the headphones connecting them. -
Map the Halo:
Using a compass or a round object as a guide, lightly draw a circular ‘halo’ or aura behind the head. This circle doesn’t need to be a solid line but will guide where your background textures go later.
Step 2: Inking the Portrait
-
Outline the Features:
Switch to your fabric pen or ink liner. Carefully trace the primary lines: the eyes looking upward, the nose, the lips, and the distinct shape of the headphone earcups. -
Detail the Hair:
Draw the hair using long, flowing strokes. I find it best to start from the part line and flick the pen outward to mimic the natural fall of hair strands. -
Add Depth with Hatching:
Begin shading the darker areas of the hair using cross-hatching. Layer lines over each other in the shadowed areas around the neck and under the headphones to build rich, dark blue tones. -
Stipple the Skin:
For the face, avoid harsh lines for shading. Instead, use stippling (tiny dots) on the cheeks, nose, and chin to create soft, subtle shadows that give the face dimension without looking heavy. -
Refine the Headphones:
Add texture to the headphone ear cushions. Use small tick marks or curved hatching lines to suggest padding and volume.
Ink Bleeding Info
If your pen is bleeding into the fabric grain, switch to a finer nib or move the pen faster. Slower strokes allow more ink to soak and spread.
Step 3: Atmospheric Touches
-
Create the Aura:
Return to that circular guide line you drew earlier. Using your pen, create the halo effect by dotting concentrated ink marks along the inner edge of the circle, fading them out as you move inward. -
Draw the Stars:
Scatter starburst shapes and small dots around the head and outside the main circle. Use a mix of four-pointed stars and simple specks to create a magical dusting effect. -
Balance the Composition:
Step back and look at your drawing. If the hair feels too light, go back in with more ink lines to darken the strands, especially where they sit against the neck. -
Erase Guides:
Once the ink is completely dry (give it at least an hour to be safe), gently erase any visible pencil marks. Be gentle so you don’t pill the canvas fabric. -
Heat Set the Ink:
To make your tote washable, set the ink with heat. Place a thin cloth over your drawing and iron it on a high, cotton setting for several minutes, moving the iron constantly.
Pro Tip: Depth trick
Vary your dot density! Clustered dots create deep shadow, while sparse dots create highlights. It’s much softer than drawing hard lines.
Now you have a custom, celestial accessory ready to carry your favorite books or vinyl records.


Jar Universe Sketch
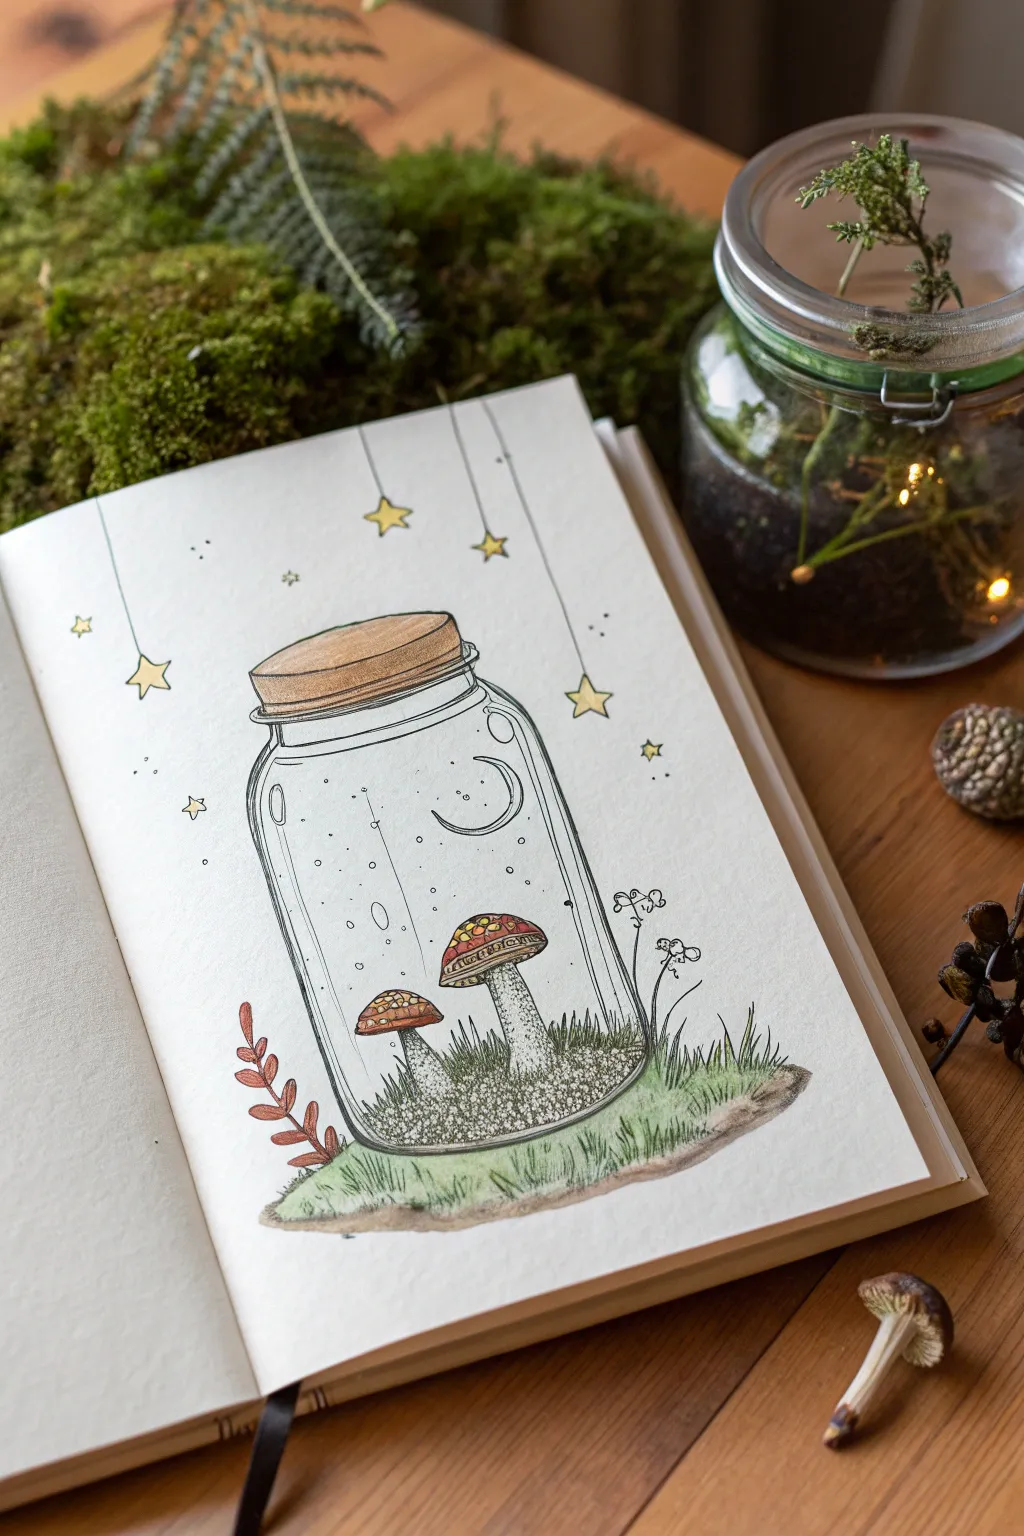
Capture magic in a bottle with this enchanting illustration of a miniature mushroom world enclosed in glass. This project combines crisp ink linework with soft color washes to create a cozy, dreamlike aesthetic perfect for your sketchbook.
Step-by-Step Guide
Materials
- High-quality sketchbook paper (mixed media or watercolor weight)
- Pencil (HB or H for light sketching)
- Fine liner pens (sizes 005, 01, and 03 in black)
- Watercolor paints or watercolor pencils
- Small round paintbrush (size 2 or 4)
- Eraser
- Ruler (optional)
Step 1: Penciling the Structure
-
Draft the jar shape:
Start by lightly sketching a large oval for the jar lid. Draw two vertical lines coming down from the sides, curving them inward at the bottom to form the base. Add a second, slightly smaller line inside the jar walls to give the glass thickness. -
Add the lid details:
Sketch a thick, flat oval on top for the wooden lid. Add ridges for the screw-top mechanism just below the lid. -
Sketch the contents:
Inside the jar, lightly draw a curved mound for the ground. Place two mushrooms on this mound—one taller, one shorter. Add a crescent moon and some tiny circles floating in the negative space. -
Draw the exterior elements:
Extend the grassy mound outside the jar’s base so it looks grounded. Sketch hanging strings from the top of the page ending in five-pointed stars. Add a small leafy plant sprig to the left side.
Glass Reflection Tip
To make the glass look real, leave stark white highlights on the jar’s ‘shoulder’ and sides. Don’t color the entire glass surface.
Step 2: Inking the Lines
-
Outline the jar:
Using an 03 pen, trace the main outline of the jar. Keep your hand steady but allow for slight organic wobbles to maintain the sketched charm. -
Detail the lid:
Switch to an 01 pen for the lid’s wood grain texture. Draw horizontal lines that break slightly, rather than perfect straight liness. -
Ink the mushrooms:
Outline the mushroom caps and stems. Use the 005 pen to add tiny dots (stippling) on the stems for texture and small circles on the caps. -
Define the ground:
Use short, vertical flicking motions with your 01 pen to create grass blades inside and outside the jar. Create a dense texture for the ‘soil’ inside the jar using small scribbles or dots. -
Add magical elements:
Ink the hanging stars, the crescent moon, and the floating bubbles. Don’t forget the external leafy sprig on the left and the tiny sprout on the right. -
Erase guidelines:
Wait for the ink to dry completely to avoid smudging, then gently erase all remaining pencil marks.
Step 3: Adding Color and Depth
-
Color the mushroom caps:
Apply a wash of reddish-brown to the mushroom caps. If you’re using pencils, shade lightly and layer; if using watercolor, keep it translucent. -
Add yellow accents:
Paint the stars and the spots on the mushrooms with a soft yellow. You can leave the crescent moon white or give it a very faint yellow tint. -
Shade the lid:
Use a light brown or ochre for the jar lid. Depending on your light source, make one side slightly darker to suggest roundness. -
Green up the grass:
Wash a soft sage green over the grassy areas inside and outside the jar. Let the ink lines show through the color. -
Ground the image:
Add a touch of brown soil color beneath the external grass tuft to anchor the drawing to the page. -
Tint the glass:
This is subtle: Use a very diluted blue-grey wash along the edges of the jar and the ‘thickness’ lines you drew earlier. This simulates the reflection of glass. -
Final foliage details:
Color the leaves on the left sprig with a reddish-rust tone to contrast with the green grass. I find this warmth balances the composition nicely.
Adding Sparkle
Use a white gel pen over your dried colors to add tiny highlights to the mushroom caps, stars, and the glass jar for extra shine.
Enjoy your miniature contained world and perhaps try drawing a different biome in a new jar next time
BRUSH GUIDE
The Right Brush for Every Stroke
From clean lines to bold texture — master brush choice, stroke control, and essential techniques.
Explore the Full Guide
Shadow-Only Storytelling
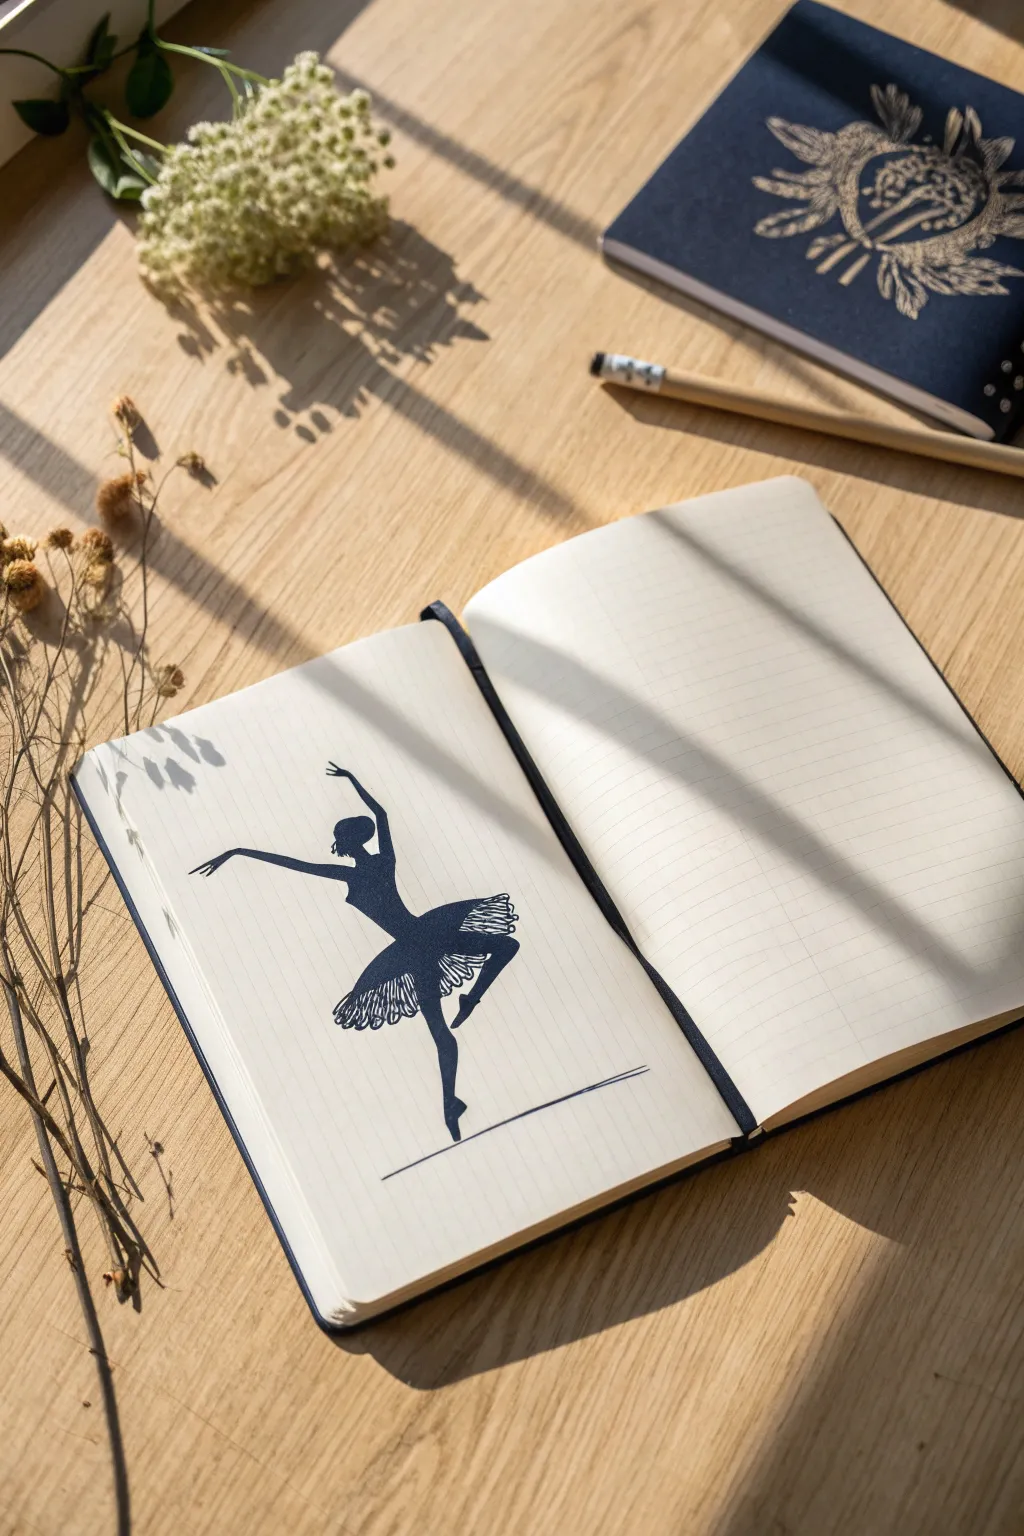
Capture the elegance of dance with this striking high-contrast silhouette drawing. Using simple ink techniques, you’ll create a bold black figure with delicate white accents that pops against the cream paper of your notebook.
Detailed Instructions
Materials
- A lineless or lined notebook (cream or off-white paper preferred)
- HB pencil for sketching
- Kneaded eraser
- Black brush pen or fine-detail marker
- Tombow dual brush pen (black) or similar marker for filling
- White gel pen (Signo or Gelly Roll, 0.8mm or 1.0mm)
- Ruler (optional)
Step 1: Sketching the Pose
-
Establish the ground line:
Start by lightly drawing a straight horizontal line near the bottom of the page to represent the floor. This anchors your figure so she isn’t floating aimlessly. -
gesture drawing:
Lightly sketch a curved line of action representing the ballerina’s spine and extended leg. This ‘S’ or ‘C’ curve will give the pose its fluidity and grace. -
Block in the shapes:
Using light pencil strokes, build the body structure using simple ovals for the torso and hips, and lines for the limbs. Focus on the pose: one leg extended back, arms reaching out gracefully. -
Refine the outline:
Go over your blocked shapes to create a smooth, continuous outline of the dancer’s body. Pay special attention to the arch of the foot and the delicate curve of the fingers. -
Sketch the tutu:
Draw the tutu shape, keeping it somewhat triangular and spiky to suggest layers of tulle. Don’t worry about individual frills yet; focus on the overall silhouette shape.
Ink Smearing?
If the white gel pen picks up black ink, stop immediately. Scribble the pen on scrap paper until it runs clear, then let your drawing dry for another 10-15 minutes.
Step 2: Inking the Silhouette
-
Outline the body:
Take your fine-detail black marker and carefully trace your final pencil outline. Keep your hand steady to ensure the limbs look sleek and muscular. -
Fill the body:
Switch to your thicker brush pen or marker to fill in the torso, legs, and head. Work in consistent strokes to avoid streakiness usually found with cheaper markers. -
Refine edges:
Use the fine tip again to sharpen points like the toes, fingertips, and the bun on her head. These tiny details define the silhouette’s crispness. -
Ink the tutu base:
Fill in the tutu area with solid black ink. Ensure it connects seamlessly to the waist so it looks like a single garment. -
Ground shadow:
Go over your initial ground line with the fine black pen. Make it slightly thicker directly under the supporting foot to suggest weight.
Step 3: Adding White Details
-
Wait for drying:
It is absolutely crucial to let the black ink dry completely. If you apply white gel pen too soon, the black ink will bleed through and unleash a grey mess. -
Define the bodice:
Using the white gel pen, draw a very fine line separating the bodice from the skirt. You can add tiny dots or a v-shape to suggest a neckline. -
Create tulle layers:
For the tutu, draw jagged, vertical scribbles starting from the bottom edge of the skirt moving upward. These don’t need to be perfect straight lines; messy looks more like fabric texture. -
Add highlights:
Add a few more jagged white lines in the middle of the black skirt area to suggest layers of tulle catching the light. -
Final clean up:
Once the white ink is dry, use your kneaded eraser to gently lift any remaining visible pencil marks from the surrounding paper.
Level Up: Dramatic Lighting
Instead of a simple line, draw a long, stretched shadow shape extending from the ballerina’s foot across the page to simulate a strong spotlight effect.
Close your sketchbook knowing you’ve captured a moment of poised movement forever on the page
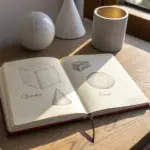
Optical Illusion Steps
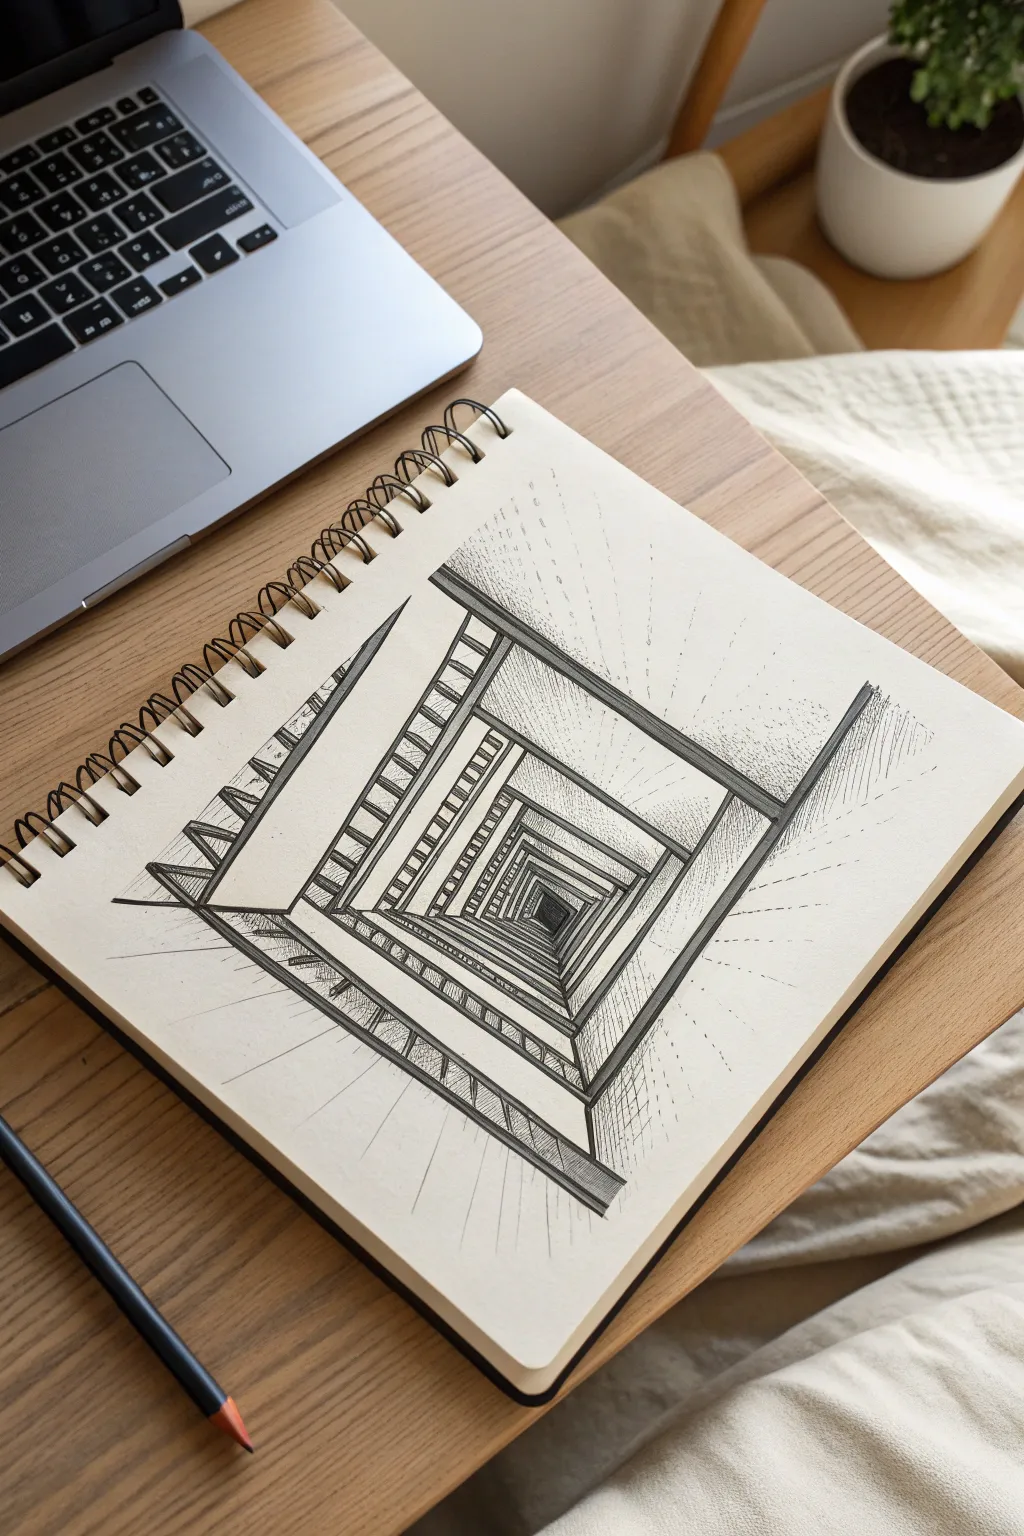
Master the art of depth perception with this striking pen and ink optical illusion. By combining simple geometric linework with strategic shading, you’ll create a mesmerizing ‘bottomless pit’ effect that seems to drop right through your sketchbook page.
Step-by-Step Guide
Materials
- Sketchbook or drawing pad (smooth paper works best)
- HB Graphite pencil
- Ruler or straight edge
- Fine liner pen (01 or 03 size)
- Medium liner pen (05 or 08 size)
- Eraser
Step 1: Setting the Perspective Framework
-
Establish the horizon and focus:
Begin lightly with your pencil. Draw a small square slightly off-center in the middle of your page. This will be the profound depth of your tunnel and serves as the vanishing point for all your perspective lines. -
Draw the leading edges:
Using your ruler, draw four diagonal lines extending outward from the corners of that small central square toward the corners of your paper. These lines define the corners of the tunnel. -
Create the stair levels:
Starting from the outer edges of your drawing area and working inward, lightly sketch a series of concentric squares. Each square should connect the four diagonal corner lines you just drew. Space them gradually closer together as they approach the center to enhance the illusion of depth. -
Define the rail thickness:
On the left and bottom sides of the tunnel, add a second line parallel to your diagonal corner lines. This creates the vertical thickness for the walls or railings of the staircase.
Wobbly Lines?
If your ruler slips, don’t panic. Simply thicken that specific line slightly to hide the wobble. A varied line weight can actually make the drawing feel more organic and less like a blueprint.
Step 2: Inking the Structure
-
Outline the main geometry:
Switch to your medium liner pen (like an 05). Carefully trace over the concentric squares that make up the ‘floor’ levels. Be sure to stop your lines where they meet the diagonal railing structure; don’t draw through the walls. -
Inking the depth lines:
Ink the four main diagonal lines that recede toward the center. Use confident, straight strokes against your ruler. -
Add step dividers:
On the sections representing the stairs (usually the left and bottom planes in this orientation), draw small vertical ticks between the concentric squares. This turns the flat planes into a series of individual steps. -
Thicken the foreground:
Go over the outermost lines of the largest square with a slightly heavier line weight. This helps visually push the center further back.
Step 3: Shading and Details
-
Erase pencil guides:
Once the main ink lines are completely dry, gently erase all your initial graphite sketches to clear up the drawing surface. -
Start cross-hatching:
Switch to your finer pen (01 or 03). Begin shading the ‘underside’ of the stair sections (the top and right internal planes). Use tight, vertical hatching lines. -
Deepen the shadows:
For the areas closest to the center square, layer your hatching lines horizontally over the vertical ones. This cross-hatching makes the center significantly darker, simulating the lack of light at the bottom of the pit. -
Texture the walls:
On the flat wall surfaces (the areas between the railing and the stairs), use very sparse, broken stippling or faint vertical lines to give the surface some texture without overwhelming the brightness. -
Add directional rays:
Using a ruler and your finest pen, draw faint, broken lines radiating outward from the entire structure into the surrounding white space. Keep these lines light; they suggest energy or light beams exploding from the center. -
Final contrast check:
Look at the very center square again. Use your thickest pen to fill this area in completely black, or use dense cross-hatching to create a void-like appearance.
Depth Trick
Make the spacing between your concentric squares progressively smaller as you get to the center. Large gaps at the outside and tiny gaps inside drastically exaggerate the 3D effect.
Step back and enjoy the dizzying depth of your new architectural illusion

PENCIL GUIDE
Understanding Pencil Grades from H to B
From first sketch to finished drawing — learn pencil grades, line control, and shading techniques.
Explore the Full Guide
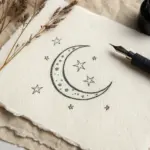
Geometric Symbol Swap
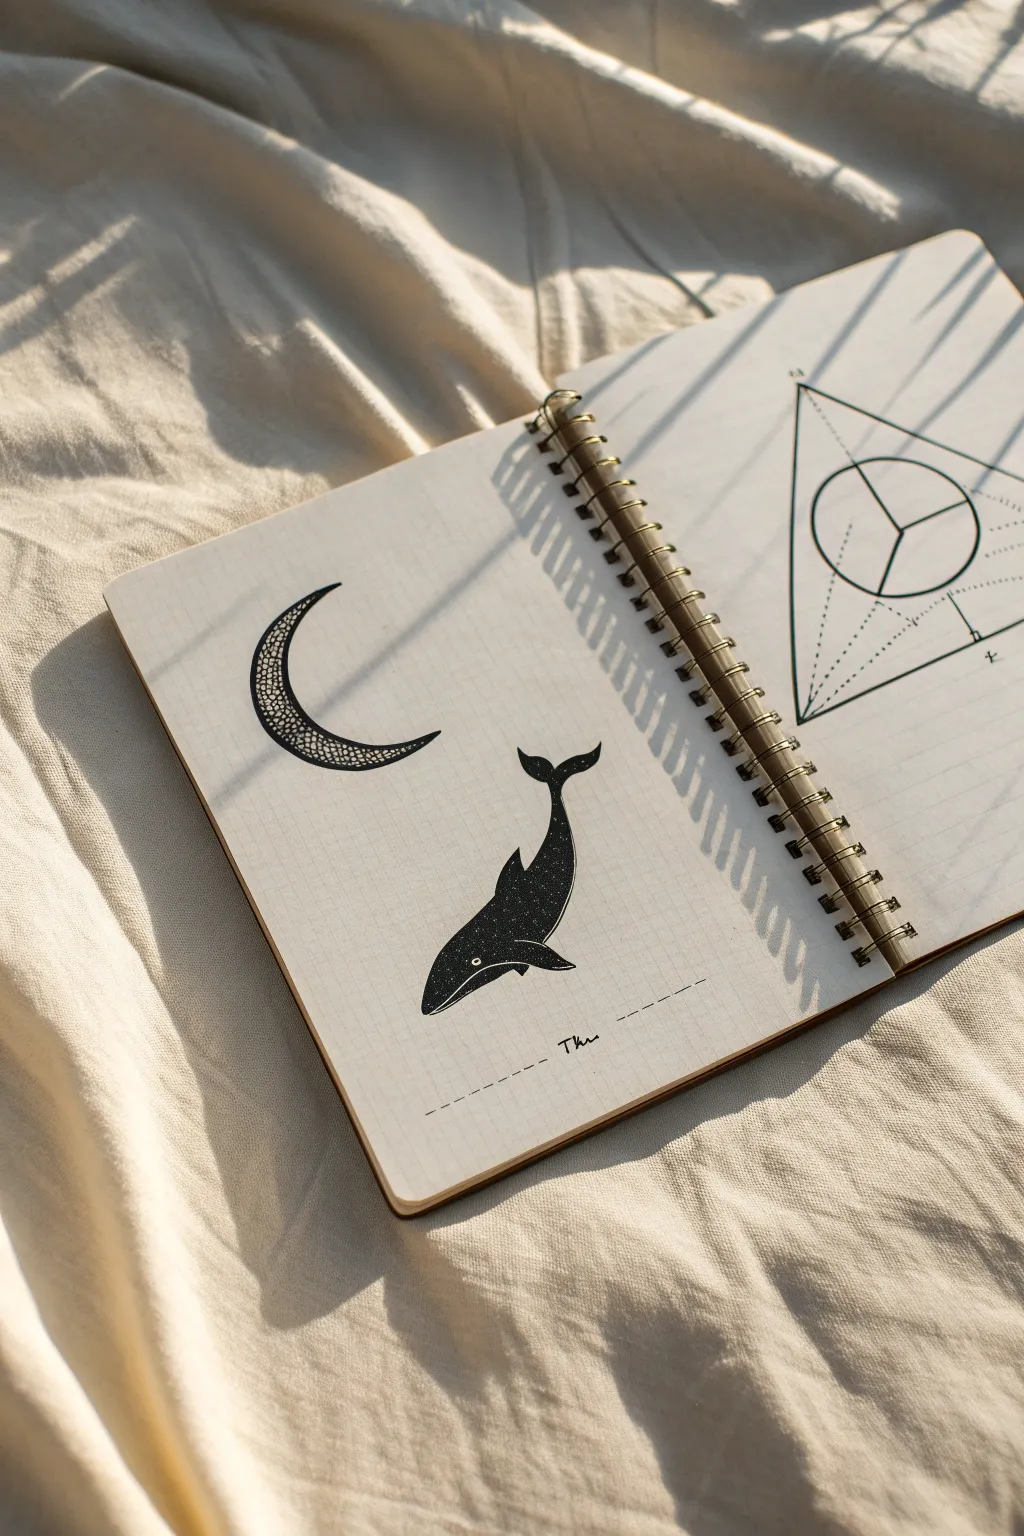
Transform a simple journal page into a dreamy celestial scene featuring a textured crescent moon and a star-filled whale silhouette. This minimalist ink drawing combines bold black shapes with delicate stippling for a striking contrast.
Step-by-Step Guide
Materials
- Spiral-bound notebook with dot grid or plain paper
- Fine liner pen (0.1mm or 0.3mm)
- Black brush pen or thick marker
- Pencil (HB or H)
- Eraser
- White gel pen (0.5mm)
- Ruler (optional)
Step 1: Drafting the Shapes
-
Draw the moon’s curve:
Begin on the left-hand page of your journal. Lightly sketch a large ‘C’ shape for the crescent moon near the upper-left quadrant. Keep the ends tapering into sharp points. -
Outline the whale:
Below and slightly to the right of the moon, sketch the outline of a humpback whale. Start with a curved back line, then add the tail flukes pointing upward. -
Refine the whale’s form:
Complete the whale’s belly, making it slightly rounded, and sketch the side fin (pectoral fin) angled away from the body. Ensure the nose is somewhat blunt but streamlined. -
Add text and date lines:
Near the bottom of the page, use your ruler to sketch a dashed line. Lightly write ‘Thu’ or your chosen day in a casual script just above the line.
Ink Bleeding Issues?
If your black marker bleeds through the paper, slide a piece of cardstock under the page while drawing, or glue two pages together before you start.
Step 2: Inking the Moon
-
Outline the crescent:
Using your fine liner pen (0.1mm), carefully trace over your pencil sketch of the moon. Try to keep your hand steady for a smooth, continuous line. -
Create the texture base:
Inside the moon, start drawing tiny, irregular circles or ‘cells’ clustered closely together. I find it easiest to start at the widest part of the crescent and work outward. -
Build density:
Continue filling the moon with these small cellular shapes. Leave very little white space between them, but don’t let them overlap excessively. -
Add depth with stippling:
To give the moon volume, add tiny dots (stippling) inside the cells, focusing on the inner curve of the crescent to create a shadow effect.
Cosmic Colors
Instead of solid black for the whale, try using watercolor paints in deep indigo and purple, letting them blend on the paper before adding white stars.
Step 3: The Starry Whale
-
Outline the silhouette:
Switch to a slightly thicker pen or re-trace firmly with your fine liner to define the final edge of the whale. Make sure the tail and fins feel fluid. -
Fill with black:
Using your black brush pen or thick marker, fill in the entire body of the whale. Be careful near the edges to maintain a sharp, clean silhouette. -
Refine the edges:
Once the major fill is done, use your fine liner to tidy up any tiny gaps near the outline, particularly around the tips of the tail flukes. -
Wait for drying:
Let the black ink dry completely. This is crucial to prevent the white gel pen from picking up wet ink and turning gray later. -
Add the stars:
Take your white gel pen and gently tap it against the black ink to create stars. Vary the pressure to make some dots tiny and distant, and others slightly larger. -
Detail the eye and belly:
Use the white pen to add a small circle for the eye and a thin, curved line to suggest the mouth or belly separation.
Step 4: Final Touches
-
Ink the typography:
Trace your ‘Thu’ lettering with the fine liner. Break up the dashed line at the bottom with even spacing. -
Erase guidelines:
Wait until all ink is perfectly dry—give it an extra minute just to be safe—then gently erase all underlying pencil marks. -
Geometry balance:
If you want the look from the reference image, draw a geometric shape on the opposite page to balance the organic forms of the moon and whale, though this is optional.
You now have a serene, celestial drawing that adds a touch of magic to your weekly spread
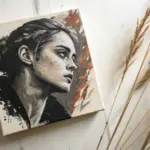
Watercolor Bleed Magic
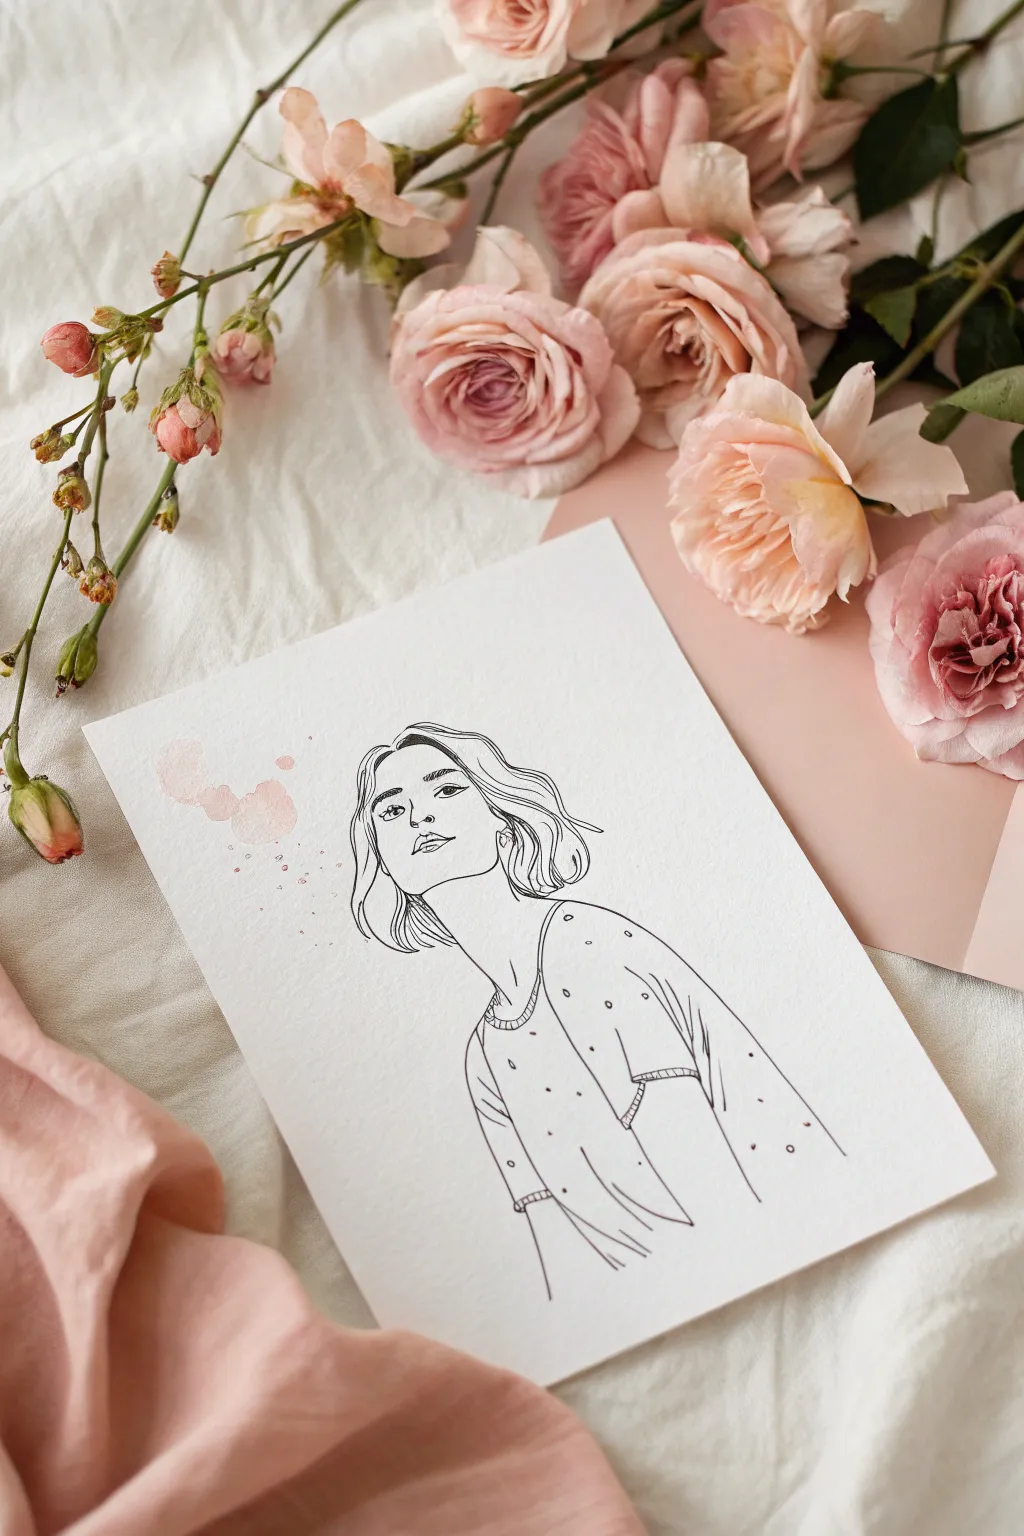
Capture effortless elegance with this mixed-media portrait that combines crisp black line art with soft, dreamlike watercolor bleeds. The contrast between the precise ink strokes and the organic, flowing paint creates a modern and romantic aesthetic perfect for framing or gifting.
Step-by-Step
Materials
- Cold-press watercolor paper (300gsm)
- Fine liner pens (0.1mm, 0.3mm, and 0.5mm)
- Pencil (HB or H)
- Kneaded eraser
- Watercolor paints (Alizarin Crimson or a soft Blush Pink)
- Round watercolor brush (size 6 or 8)
- Cup of water
- Paper towel
- Masking tape (optional)
Step 1: Planning and Sketching
-
Prepare your surface:
Begin by taping down your cold-press watercolor paper to a board if you prefer a flat surface, though for this light wash, untaped is fine. Ensure the textured side is facing up to catch the pigment beautifully. -
Map the head angle:
Using your HB pencil, lightly sketch a vertical centerline and a horizontal eye line to establish the upward-tilted head angle. This pose exudes confidence, so keep the chin lifted. -
Refine the facial features:
Sketch the eyes looking slightly downward or to the side, framing them with strong eyebrows. define the nose with minimal lines—sometimes just the nostrils and a hint of the bridge is enough. -
Outline the hair and body:
Loosely sketch a bob-length haircut with waves. Keep the strokes fluid. Then, draft the shoulders and the clothing, creating gentle folds to suggest a loose-fitting top. -
Lighten the guidelines:
Take your kneaded eraser and gently roll it over the entire sketch. You want the pencil lines to be barely visible—just enough to guide your pen but faint enough to disappear later.
Clean Lines Pro Tip
When drawing hair, pull the pen toward you in quick, flicking motions rather than pushing it away. This naturally tapers the end of the line, making the hair strands look much more realistic.
Step 2: The Watercolor Bleed
-
Mix your wash:
In your palette, dilute a small amount of pink watercolor with plenty of water. You are aiming for a ‘tea-stain’ consistency—very transparent and delicate, not opaque. -
Apply the first splash:
Load your round brush with clean water first and wet an abstract area behind where the head will be, specifically near the left side. Then, drop your pink mixture into the wet surface. -
Create the bloom effect:
While the paper is still damp, dab a slightly more saturated pink into the center of the wet patch. Watch as it naturally bleeds outward, creating soft, feathery edges. -
Add subtle speckles:
Load your brush with pigment, hold it over the paper, and gently tap the handle to create tiny splatters around the main wash. I find this adds a lovely sense of movement. -
Let it dry completely:
This is crucial. The paper must be bone dry before you start inking, otherwise, your pen lines will bleed into the wet fibers and lose their sharpness. Give it 20-30 minutes.
Step 3: Inking the Line Art
-
Start with the eyes:
Using a 0.1mm fine liner, carefully ink the eyes and eyebrows. These are the focal points, so take your time to get the expression right. Leave tiny white gaps in the pupils for catchlights. -
Define the face shape:
Switch to a 0.3mm pen for the jawline and neck. use confident, continuous strokes where possible to avoid a ‘hairy’ line look. A slightly thicker line under the chin adds depth. -
Ink the hair waves:
Use fluid, sweeping motions to ink the hair. Don’t close every shape; leaving some lines broken or open creates a more artistic, airy feel that complements the watercolor. -
Detail the clothing:
Ink the clothing folds with a 0.3mm or 0.5mm pen. Use varying pressure—press harder on the shadow side of folds and lighter on the edges that catch the light. -
Add texture and pattern:
Using the 0.1mm pen again, add tiny circles or dots to the shirt to create a subtle polka-dot pattern. Do this sparingly to keep the look minimal. -
Erase pencil remnants:
Once the ink is fully dry (wait at least 5-10 minutes just to be safe), gently erase any remaining pencil guidelines with your kneaded eraser. -
Final assessment:
Step back and look at your drawing. If you need to thicken a line to balance the visual weight, do so now with your 0.5mm pen, particularly around the outer contour.
Level Up: Metallic Pop
Add a touch of gold leaf or metallic gold paint to the small polka dots on the shirt or as a few extra splatters near the watercolor bleed for a luxurious, shimmering finish.
Now you have a stunning piece of modern line art that perfectly balances precision with organic softness.


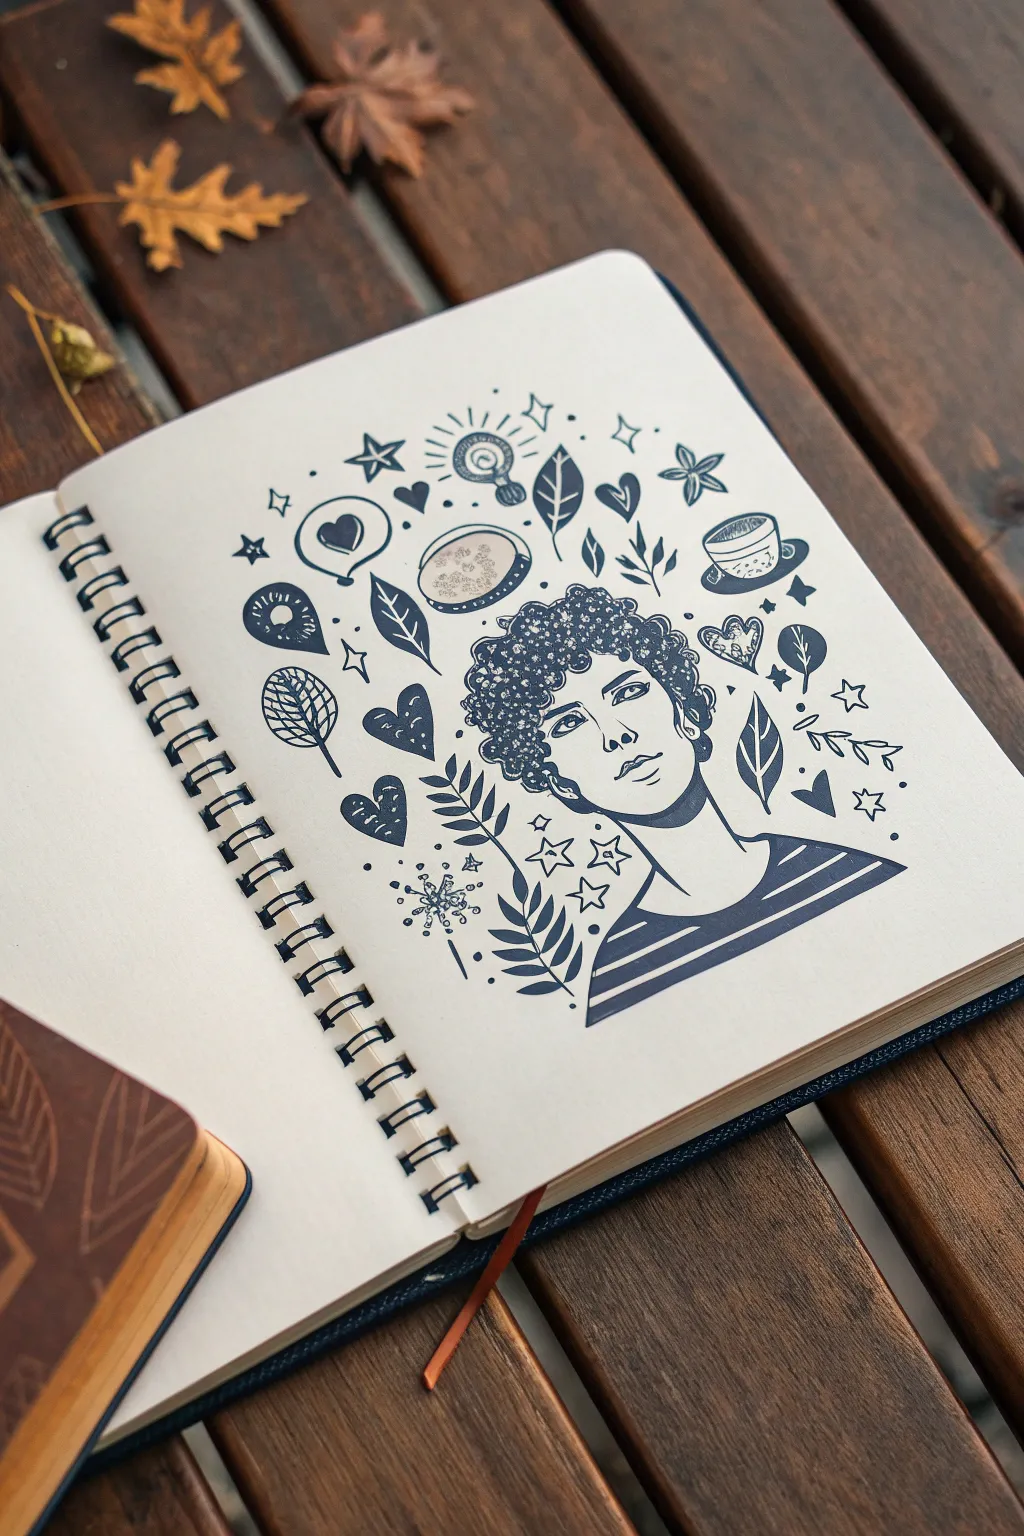
Data Doodle Self-Portrait

This creative exercise combines a stylized self-portrait with a cloud of doodle iconography to represent your thoughts and interests. Using bold ink lines on cream paper creates a striking, cohesive look that feels like a peek inside a daydream.
Step-by-Step
Materials
- Spiral-bound sketchbook (cream or off-white paper recommended)
- Pencil (HB or 2B)
- Kneaded eraser
- Fine liner pen (0.3mm or 0.5mm, dark blue or black)
- Brush pen or thick marker (matching color)
- Ruler (optional)
Step 1: Drafting the Portrait
-
Sketch the head shape:
Begin with a light pencil sketch in the lower right quadrant of your page. Draw an oval for the head and a sturdy neck leading into shoulders. -
Map out facial features:
Lightly mark guidelines for the eyes, nose, and mouth. Position the face at a slight 3/4 angle, looking upward and to the left. -
Define the hair mass:
Sketch a large, cloud-like shape around the top of the head to represent the curly hair volume. Keep the outline loose, as the texture will be added with ink later. -
Outline the shirt:
Draw the neckline and shoulders. Add simple horizontal stripes across the shirt area to give the figure some visual weight.
Smudge Prevention
Ink on smooth sketchbook paper can smudge easily. Place a clean scrap sheet of paper under your drawing hand as you work across the page to protect fresh lines.
Step 2: Inking the Figure
-
Ink the face:
Using your fine liner, carefully trace the facial features. Keep the lines clean for the nose and lips, but add slightly thicker lines for the upper eyelids to define the gaze. -
Texture the hair:
I like to use small, tight loops or C-shaped scribbles to create the curly texture. Fill the entire hair shape densely, leaving small gaps of white for highlights. -
Bold outlines:
Switch to a slightly thicker pen or re-trace your lines to create a bold, confident outline around the jaw, neck, and shoulders. -
Fill the stripes:
Use a brush pen or thick marker to color every other stripe on the shirt, creating a high-contrast pattern. -
Add heavy shadows:
Add a solid block of shadow under the chin on the neck area. This grounds the head and adds a graphic, poster-like quality.
Personalize It
Swap the generic icons for things specific to your hobbies. If you love music, replace the leaves with notes; for travel, swap the bulb for a plane or globe.
Step 3: Designing the Thought Cloud
-
Plan icon placement:
Lightly sketch shapes floating above and around the head. Aim for an arc shape that fans out from the top of the hair toward the top left of the page. -
Draw primary icons:
Ink the larger items first: a coffee cup on a saucer, a lightbulb, large leaves, and speech bubbles containing hearts. -
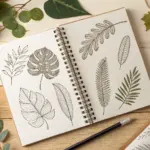
Add nature elements:
Intersperse the larger icons with varied botanical elements. Draw fern fronds, single leaves with detailed veins, and small sprigs. -
Incorporate geometric shapes:
Fill the medium gaps with stars, diamonds, and sparkles. Vary the size of these stars to create a sense of twinkling movement. -
Detail the icons:
Add shading or patterns inside your doodles. For example, add stippling (dots) to the coffee cup and stripes or solid fills to the hearts and leaves. -
Balance the composition:
Look for any large empty spaces in your cloud. Fill these with tiny dots, small circles, or single lines to make the arrangement feel dense and connected.
Step 4: Final Touches
-
Erase pencil lines:
Once the ink is completely dry, gently run your kneaded eraser over the entire page to remove the graphite sketches. -
Refine contrast:
Check the balance of dark and light. If an area looks too empty, darken a leaf or add a few more hair scribbles. -
Crisp edges:
Go over the outer perimeter of your main doodles to ensure they pop against the cream paper background.
Now you have a whimsical self-portrait that captures not just your look, but your creative energy as well


Have a question or want to share your own experience? I'd love to hear from you in the comments below!